You’ll love these genius home hacks that simplify life and enhance your space! Wrap banana stems in aluminum foil to keep them fresh longer. Use vinegar mixed with water to eliminate odors throughout your home. Keep your screens spotless with coffee filters, and easily manage tangled cables with empty toilet paper rolls. Plus, a quick dab of toothpaste can make your fixtures shine. There’s so much more to discover about preserving freshness and tidiness in your home!
1. Keep Bananas Fresh With Aluminum Foil
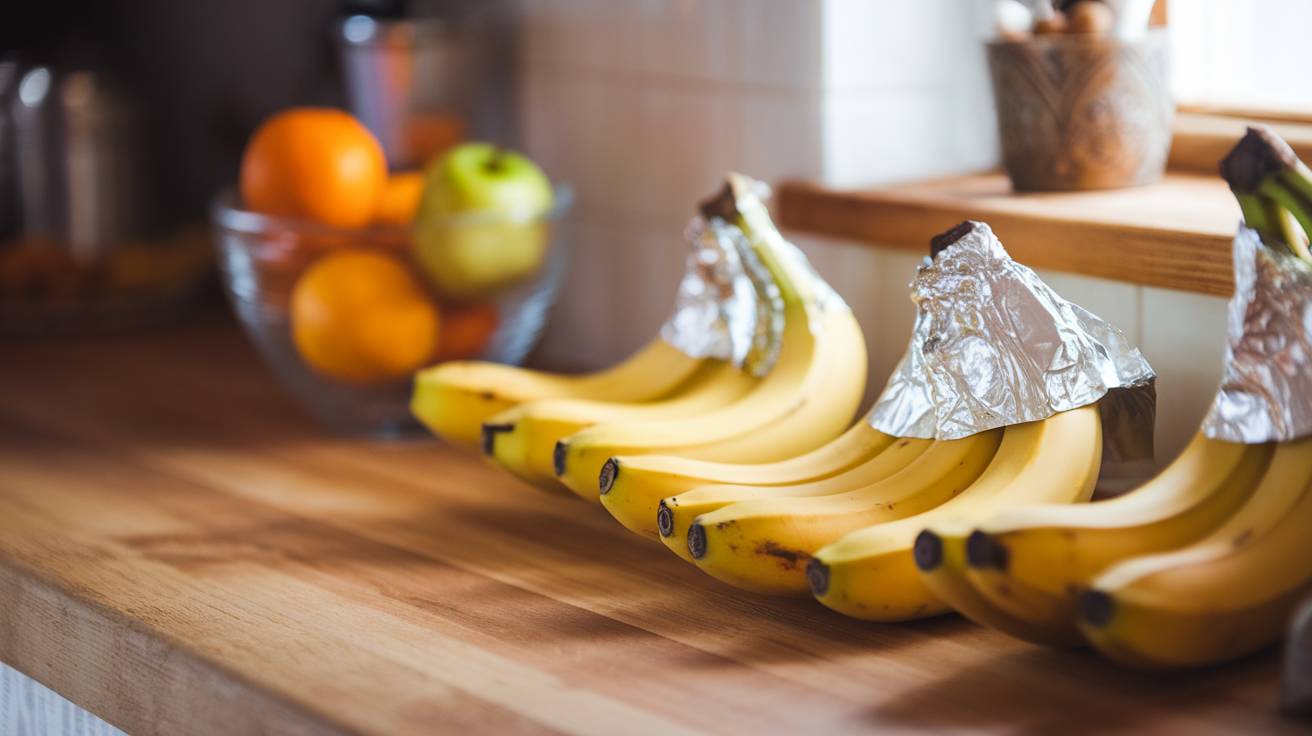
If you want to keep your bananas fresh for longer, wrapping their stems in aluminum foil is a simple yet effective trick.
This technique centers around ethylene gas management; bananas emit this natural gas, which speeds up their ripening process. By tightly covering the stems with foil, you can greatly slow down that release, keeping your bananas fresh for several days.
Studies show that this method can extend their shelf life by up to a week compared to unwrapped bananas. To maximize results, make sure there are no gaps in the foil.
Not only does this banana ripening tip reduce food waste, but it also saves you money on groceries, making it a practical solution for any household.
2. DIY Produce Preserver

While you may not realize it, preserving your produce doesn’t have to be a complicated process.
To keep your bananas fresh longer, wrap their stems in aluminum foil to slow down the ripening caused by ethylene gas.
For apples, store them separately from other fruits to prevent accelerated spoilage.
When it comes to leafy greens, place a paper towel in the container to absorb excess moisture, which helps avoid wilting.
If you have a bag of opened chips, add a few grains of dry rice to keep them crispy by absorbing moisture.
Finally, experiment with airtight glass or plastic containers to improve the longevity of various produce by minimizing air and humidity exposure.
Your fresh produce will thank you!
3. Use Vinegar for Odor Elimination

When it comes to tackling stubborn odors in your home, vinegar is your secret weapon. This natural deodorizer effectively neutralizes smells in kitchens, bathrooms, and even carpets.
For tough odors like pet smells or smoke, simply mix equal parts vinegar and water in a spray bottle and go to town.
Got a musty closet or fridge? Soak a cotton ball in vinegar and place it in a bowl to absorb unwanted scents.
In your laundry, adding a cup of vinegar can banish musty odors and boost detergent efficiency.
Thanks to its acetic acid content, vinegar not only eliminates odors but also kills bacteria, making it a powerful option for natural cleaning.
Give these vinegar uses a try, and you won’t regret it!
4. Baking Soda as a Multi-Purpose Cleaner
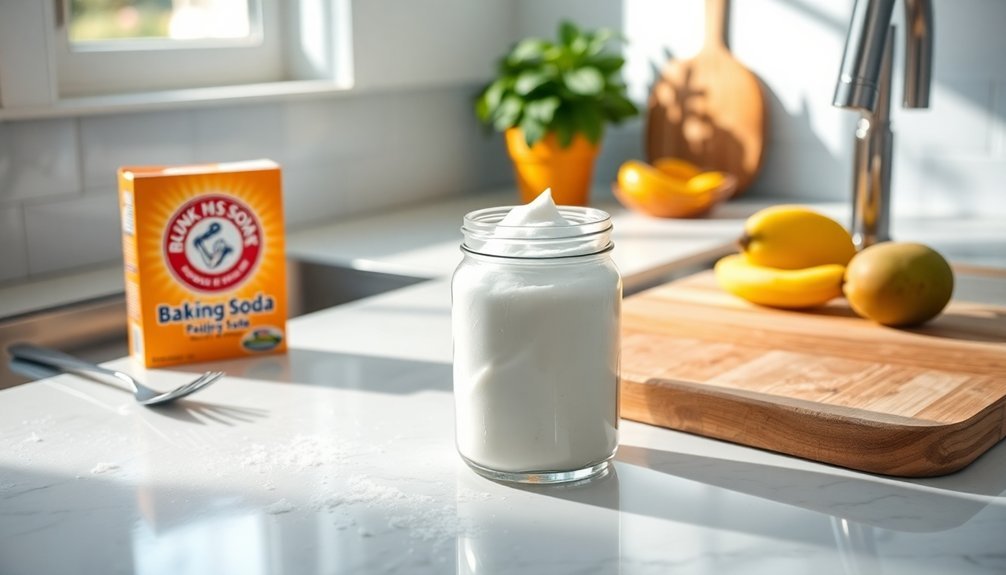
Although many cleaning products promise results, baking soda stands out as a versatile and effective solution for your household cleaning needs. Its baking soda benefits lie in its ability to tackle tough stains and grime, making it perfect for pots, pans, and countertops.
You can sprinkle it on carpets or shoes to neutralize unpleasant odors, leaving them fresh for hours. Mixing baking soda with water creates a paste that polishes stainless steel without scratching.
It’s safe for food prep surfaces, helping eliminate bacteria when combined with vinegar. For clogged drains, a baking soda and vinegar combo produces a fizzy reaction that breaks down debris.
With these baking soda applications, you’ll discover a cleaner home using this simple, non-toxic ingredient.
5. Toothpaste for Sparkling Fixtures
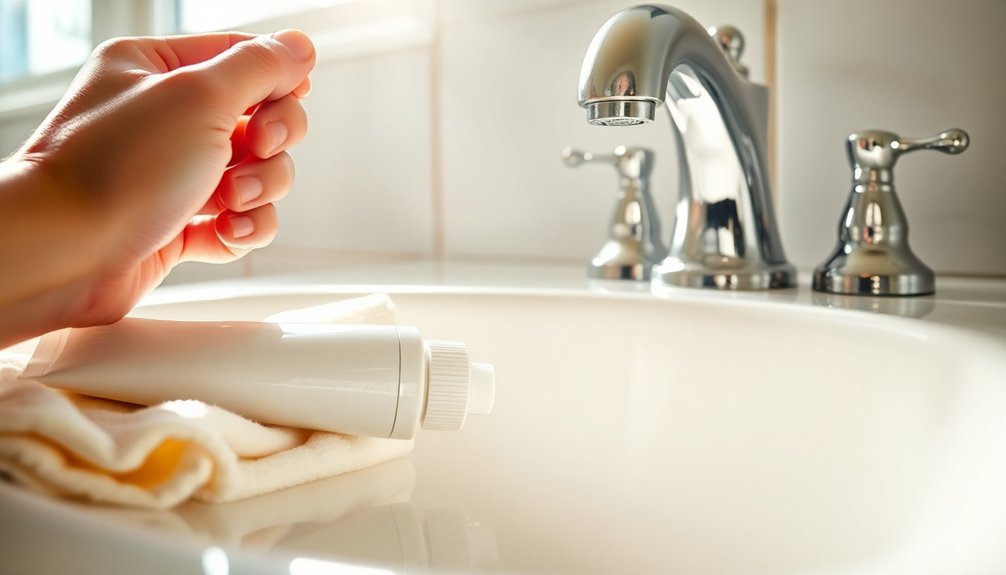
Toothpaste isn’t just for your teeth; it can work wonders on your metal fixtures too. With its mild abrasive properties, it’s perfect for metal cleaning, giving your faucets and showerheads a sparkling shine.
Here are some toothpaste benefits you shouldn’t overlook:
-
- Tarnish Removal: Effectively removes tarnish and stains.
-
- Gentle Application: Use a soft cloth or sponge to prevent scratches.
-
- Restorative Effect: Let it sit for a few minutes for best results.
-
- Cost-Effective: Often outperforms commercial cleaners while being readily available.
Just apply a small amount, rub gently, rinse with warm water, and dry thoroughly.
You’ll be amazed at how easy it’s to keep your fixtures looking brand new!
6. Easy Blender Cleaning Hack
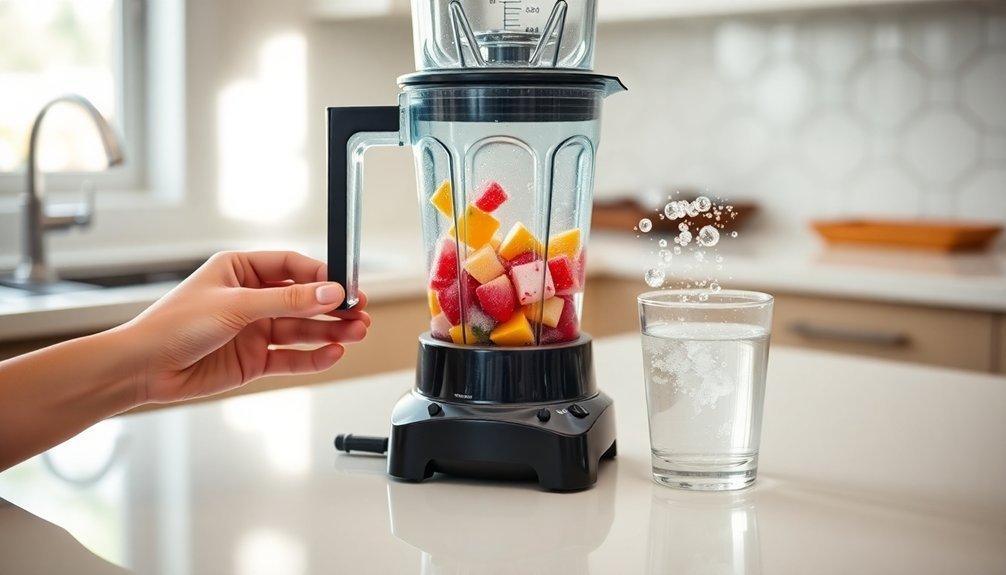
Cleaning your blender doesn’t have to be a chore. Just fill it halfway with warm water, add some dish soap, and blend on high for a quick clean.
For tougher stains, a sprinkle of baking soda can work wonders, ensuring your appliance stays in great shape.
Quick Cleaning Method
When you’re short on time and need your blender ready for the next delicious creation, a quick cleaning method can save the day.
Here are some effective blender maintenance tips and quick cleanup tricks you can use:
-
- Fill your blender halfway with warm water and add a drop of dishwashing liquid. Blend on high for 30 seconds.
-
- For stubborn residue, mix baking soda with water and blend to break down food particles.
-
- Rinse the blender immediately after use to prevent food from drying and sticking.
-
- Use a bottle brush to scrub hard-to-reach areas, ensuring a thorough clean without damaging parts.
With these simple steps, you’ll enjoy a spotless blender in no time, making your kitchen routine more efficient!
Effective Blender Ingredients
While you might think keeping your blender clean requires special products, effective ingredients from your kitchen can do the trick.
For easy blender cleaning, start by filling it halfway with warm water and adding a drop of dishwashing liquid. Blend on high for 30 seconds to dislodge stuck-on food particles.
If you’re dealing with tough stains, mix baking soda with water to create a paste and scrub the surfaces. For quick disinfection, blend equal parts water and vinegar to eliminate odors.
Don’t forget that toothpaste works wonders on blades and containers—just scrub gently and rinse.
Regularly cleaning your blender right after use not only simplifies the process but also enhances the effectiveness of these cleaning hacks.
Maintenance Tips Suggested
After discovering how simple it is to clean your blender with kitchen staples, maintaining it becomes a breeze.
To keep your blender in prime shape, follow these straightforward tips for effective blender maintenance and ideal cleaning frequency:
-
- Fill the blender halfway with warm water, add a few drops of dish soap, and blend on high for 30 seconds before rinsing.
-
- For stubborn residue, mix in a tablespoon of baking soda for extra scrubbing power.
-
- Eliminate odors by blending equal parts water and vinegar, letting it sit for a few minutes.
-
- Use toothpaste on a sponge to scrub the blades and container gently.
7. Citrus Peels to Freshen Up the Fridge
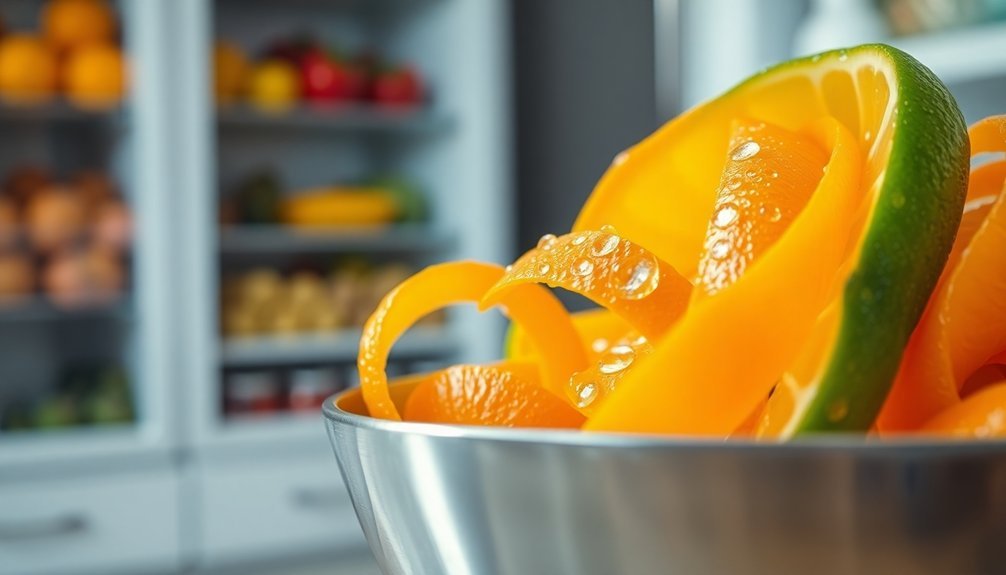
Using citrus peels is a simple and effective way to freshen up your fridge.
These natural odor eliminators not only mask unpleasant smells but also help keep bacteria and mold at bay.
Natural Odor Eliminator
If you’re looking for a simple yet effective way to freshen up your fridge, citrus peels are a fantastic natural solution. The natural oils in citrus, especially d-limonene, offer impressive odor neutralization.
Here’s how to make the most of this eco-friendly hack:
-
- Use fresh peels from oranges or lemons.
-
- Place them in an open container inside your fridge.
-
- Replace the peels every few days for continuous freshness.
-
- For extra power, combine the peels with baking soda.
Not only does this method reduce waste, but it also avoids artificial fragrances.
Enjoy the citrus benefits while keeping your fridge smelling clean and fresh! Say goodbye to unpleasant odors naturally!
Easy DIY Fresheners
Freshening up your fridge doesn’t have to involve complicated solutions or harsh chemicals. One of the simplest ways to achieve this is by using citrus peels.
Placing dried or fresh lemon or orange peels in an open bowl absorbs odors and releases delightful, eco-friendly scents. The essential oils in these peels not only mask unpleasant smells but also boast antibacterial properties, helping keep your fridge cleaner.
Scatter the peels on different shelves for ideal freshness, and remember to replace them every couple of weeks to maintain their effectiveness.
This hack not only enhances your refrigerator’s aroma but also promotes sustainability by utilizing kitchen scraps. Enjoy the citrus benefits while keeping your space fresh and inviting!
Recycle for Freshness
While many people reach for chemical-laden fresheners, you can effortlessly transform your fridge’s aroma with something as simple as citrus peels.
These peels aren’t just a waste; they offer fantastic citrus benefits, including odor absorption. Here’s how to put them to work:
-
- Dry citrus peels: Let lemon or orange peels dry out for a few days.
-
- Place them in a bowl: Set the dried peels in an open bowl or on a shelf.
-
- Combine with baking soda: For added potency, mix peels with baking soda in a small container.
-
- Replace regularly: Swap out peels every few weeks to maintain freshness and avoid mold.
With this simple hack, you’ll keep your fridge smelling delightful!
8. Coffee Grounds as a Natural Deodorizer

Coffee grounds are a powerhouse when it comes to natural deodorizing, thanks to their porous structure that effectively absorbs unwanted odors.
You can harness the magic of a coffee ground deodorizer in various ways around your home. Place dried coffee grounds in an open container in your fridge to neutralize food odors and keep the air fresher.
Sprinkle used coffee grounds in your trash can or compost pile to combat unpleasant smells while enhancing the composting process.
For a natural air freshener, fill a small bowl with coffee grounds and add a few drops of your favorite essential oil.
Plus, rubbing coffee grounds on your hands helps eliminate strong odors from garlic or fish, making them a versatile tool for natural odor absorption.
9. Repurpose Old T-Shirts for Cleaning Rags
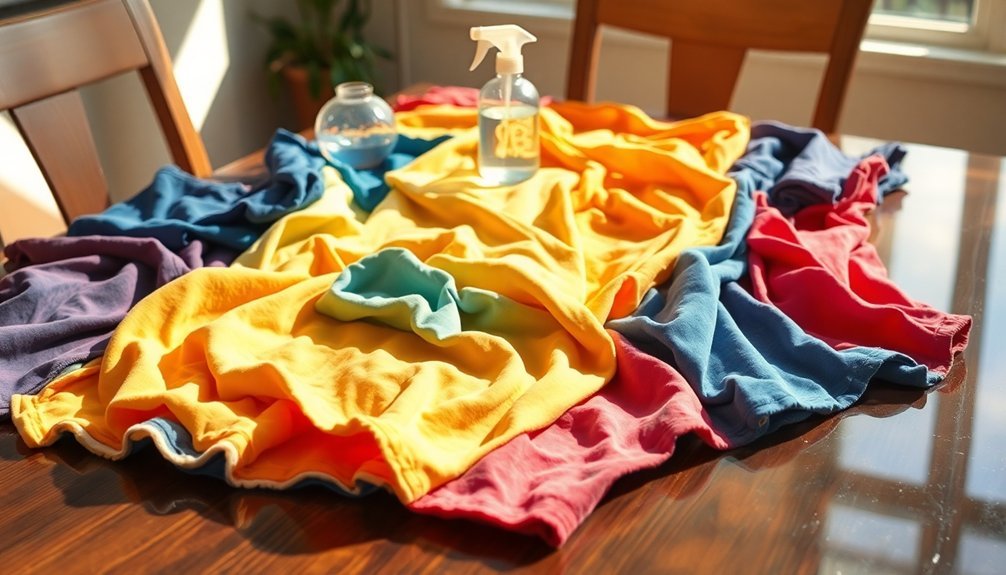
Got a pile of old t-shirts collecting dust? Instead of tossing them, turn them into eco-friendly cleaning rags that aren’t only versatile but also budget-friendly.
With just a few cuts, you can customize your rags for any task while reducing waste in your home!
Eco-Friendly Cleaning Solution
Transforming old t-shirts into cleaning rags is a simple yet powerful way to embrace eco-friendly practices at home. Not only do you reduce waste, but you also gain several t-shirt benefits that enhance your cleaning efficiency.
Here’s how to make the most of your old tees:
-
- Cut into sizes – Snip your t-shirts into manageable pieces for easy use.
-
- Dust and wipe – Utilize their absorbent fabric for dusting and wiping surfaces.
-
- Glass cleaning – Use them to clean glass without scratching, leaving a streak-free shine.
-
- Natural cleaners – Pair with water or homemade solutions for a chemical-free clean.
Versatile Rags for Tasks
When you repurpose your old t-shirts into versatile cleaning rags, you’re not just decluttering your closet—you’re also arming yourself with effective tools for various household tasks.
The t-shirt benefits are numerous; their soft, absorbent fabric makes them perfect for dusting, wiping surfaces, and tackling spills. By cutting your t-shirts into different sizes, you boost your cleaning efficiency, ensuring you’ve got just the right rag for every mess, big or small.
Plus, these rags are machine washable and reusable, making them a cost-effective, eco-friendly alternative to disposable paper towels. You’ll appreciate how gentle they’re on delicate items like electronics and glass, all while supporting a sustainable lifestyle and keeping your home organized.
Easy DIY Repurposing Tips
Repurposing old t-shirts into cleaning rags is a simple yet impactful way to enhance your home cleaning routine while reducing waste.
By upcycling fabrics, you not only save money but also contribute to sustainable cleaning practices.
Here’s how to get started:
-
- Gather old t-shirts: Choose soft, lint-free ones for best cleaning.
-
- Cut into sizes: Snip them into various dimensions based on your cleaning tasks.
-
- Color-code your rags: Use different colors to distinguish between rags for dusting, spills, or polishing.
-
- Wash wisely: Maintain absorbency by washing in cold water and skipping fabric softeners.
With these tips, you’re well on your way to a cleaner home and a greener planet!
10. Use a Rubber Band for Stripped Screws
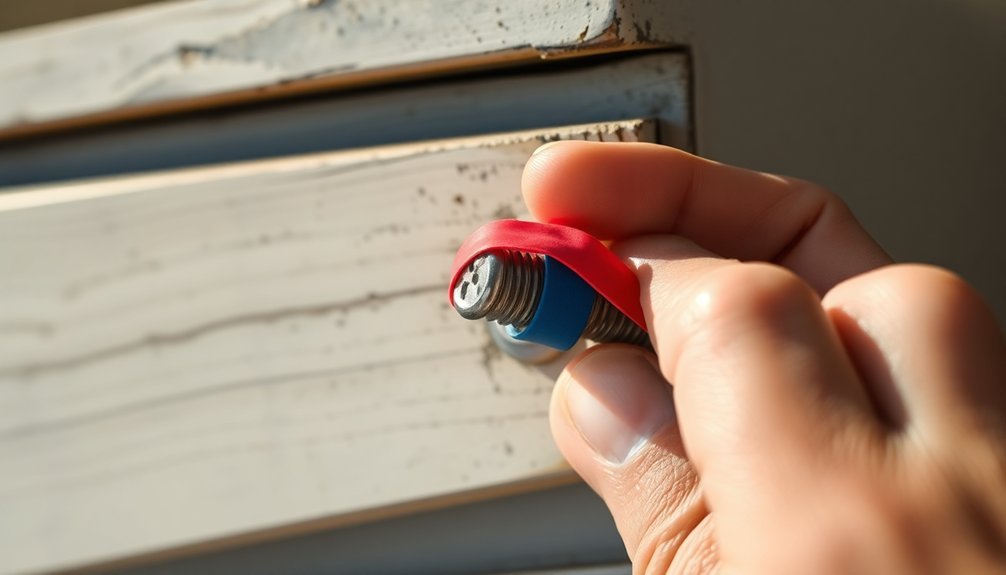
If you’re struggling with a stripped screw, don’t despair—there’s a simple trick that can save the day. Grab a rubber band! This common household item can make screw removal easier than you think.
By placing a rubber band over the stripped screw, you can create extra grip, allowing your screwdriver to catch better. The rubber band’s elasticity fills in the gaps of the worn grooves, preventing the screwdriver from slipping out.
This hack works best with flathead or Phillips screws and is a cost-effective solution for those frustrating moments. In emergencies, you can execute this method quickly, making it a genius home hack you’ll wish you knew sooner.
Enjoy the rubber band benefits and tackle those stubborn screws with confidence!
11. Storing Herbs in Water for Longevity
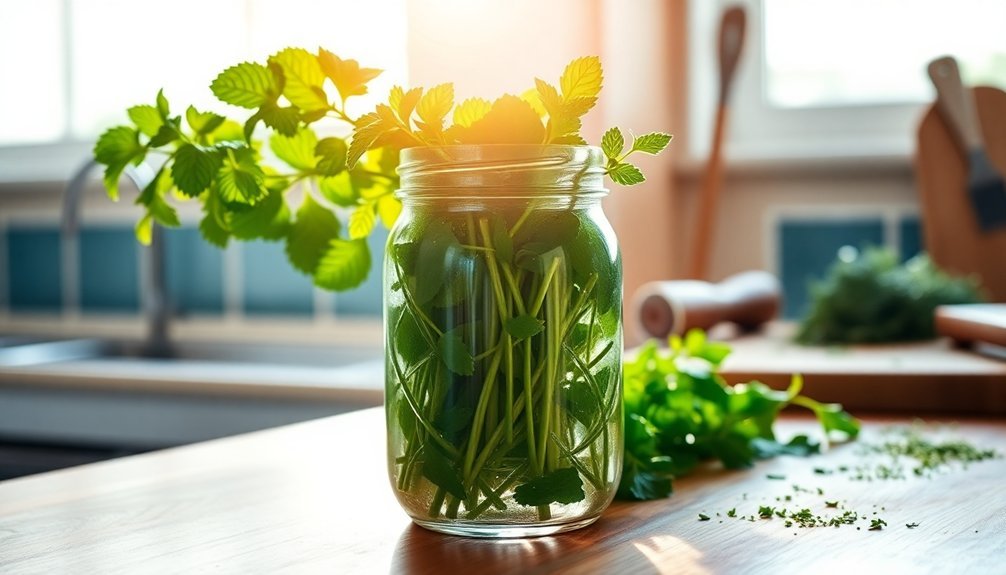
If you want your fresh herbs to last longer, try storing them in water just like cut flowers.
By trimming the stems at an angle and changing the water regularly, you’ll keep your basil, parsley, and cilantro vibrant for up to two weeks.
Plus, a loose plastic bag over the tops creates a mini greenhouse effect that helps retain moisture and flavor.
Ideal Herb Storage Method
Storing herbs in water can be a game-changer for keeping your fresh ingredients vibrant and flavorful.
This herb preservation technique not only maximizes flavor retention but also extends freshness.
Here’s how to do it effectively:
-
- Trim the stems at an angle to enhance water absorption.
-
- Place herbs in a glass of water, just like flowers.
-
- Loosely cover the herbs with a plastic bag to create a mini greenhouse effect.
-
- Change the water every few days to prevent bacteria and keep them hydrated.
For longer-term storage, consider freezing your herbs in ice cube trays with water or olive oil.
This method preserves their aroma and flavor for several months, ensuring you always have fresh herbs on hand!
Benefits of Water Storage
While you mightn’t think about it, using water to store your herbs can considerably enhance their longevity and flavor.
This simple herb preservation technique mimics how you’d care for fresh flowers, allowing herbs like basil, mint, and cilantro to thrive. By trimming their stems at an angle and placing them in a jar with an inch of water, you create an effective way to keep them fresh for up to two weeks in the fridge.
Just remember to change the water every few days to prevent bacteria.
The water storage benefits are undeniable; not only will your herbs stay vibrant and accessible for cooking, but you’ll also reduce food waste and save money in the long run.
12. Create a Natural Air Freshener With Essential Oils

Transform your living space into a revitalizing sanctuary with a simple DIY natural air freshener using essential oils.
Not only do they offer incredible essential oil benefits, but they also help you create delightful air freshener recipes tailored to your preferences.
Here’s how to whip up your own:
-
- Combine 1 cup of water and 2 tablespoons of vodka or rubbing alcohol in a spray bottle.
-
- Add 10-15 drops of your favorite essential oil—lavender, citrus, or eucalyptus work well.
-
- Shake the mixture well before each use to mix the oils.
-
- For a longer-lasting effect, place a few drops of essential oil on a cotton ball in a bowl.
Always test the spray on a small area first to avoid damage!
13. Use a Clothespin to Hold a Nail
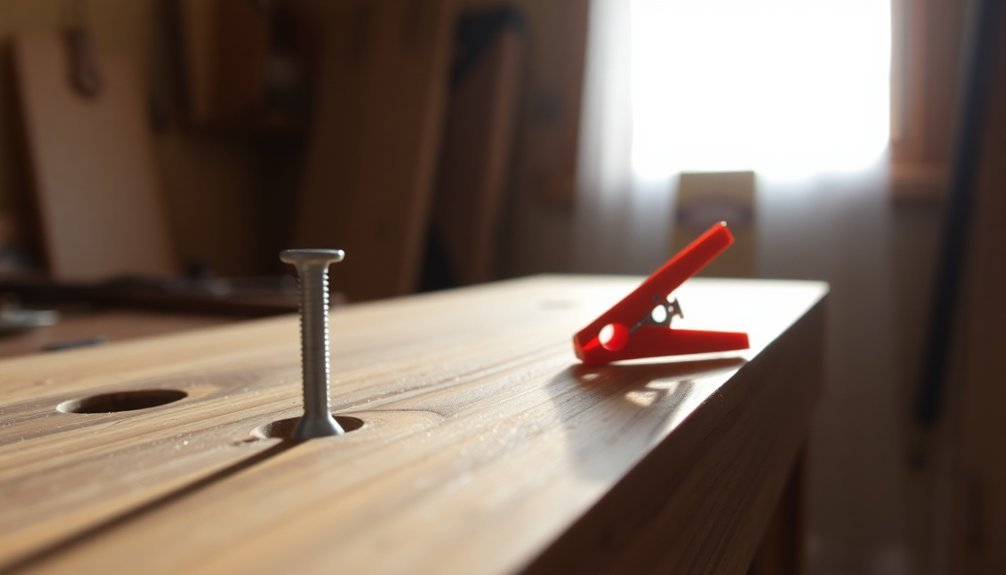
Creating a revitalizing atmosphere in your home is just one way to enhance your living space, but when it comes to tackling DIY projects, safety and efficiency are equally important.
One clever solution is using a clothespin to hold a nail. This simple clothespin hack keeps your fingers safely away from the hammer’s striking area, considerably reducing the risk of injury.
In tight spaces, where positioning your fingers can be tricky, a clothespin provides a firm grip, stabilizing the nail without the need for an extra hand.
Whether you’re hanging art or assembling furniture, this technique enhances nail safety and boosts your overall efficiency.
14. Prevent Potatoes From Sprouting

To keep your potatoes fresh and sprout-free, store them in a cool, dark place with good airflow, ideally between 45°F and 50°F.
A simple trick is to toss an apple into the storage bag; the ethylene gas it emits can help slow down sprouting.
Regularly check for any sprouting potatoes and remove them to protect the rest.
Ideal Storage Conditions
When you store potatoes correctly, you can greatly extend their shelf life and keep them from sprouting. Follow these potato preservation techniques to create ideal storage conditions:
-
- Optimal Storage Temperature: Keep potatoes in a cool, dark, and well-ventilated area, ideally between 45°F to 50°F (7°C to 10°C).
-
- Breathable Containers: Use burlap sacks or paper bags to promote air circulation and reduce moisture buildup.
-
- Keep Away from Onions: Store potatoes separately, as onion gases can accelerate sprouting.
-
- Regular Checks: Inspect your potatoes regularly for sprouting or spoilage, and remove any affected ones immediately to safeguard the rest.
Use of Apples
While you mightn’t think about it, adding apples to your potato storage can be a game-changer for keeping them fresh.
Apples emit ethylene gas, a natural growth regulator that inhibits the sprouting of potatoes. By placing a few fresh, unbruised apples in a bag or container with your potatoes, you can greatly extend their shelf life.
This simple hack works best in a cool, dark place, where the ethylene gas can effectively slow down sprouting. Just remember to check on both the apples and potatoes regularly; if the apples begin to rot, replace them to maintain their anti-sprouting benefits.
Incorporating this strategy can save you time and reduce waste in your kitchen.
15. Freezing Leftovers in Muffin Tins
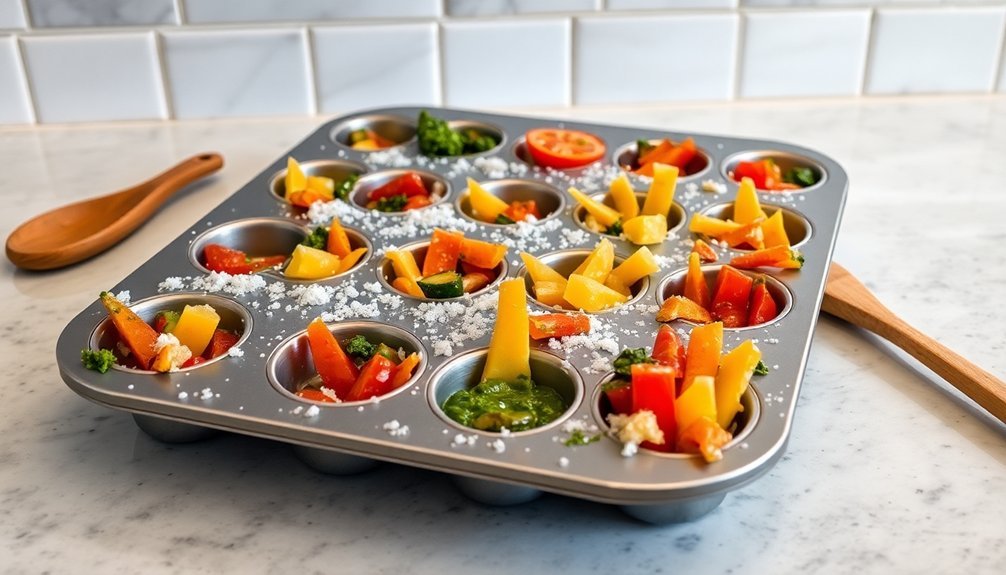
Freezing leftovers in muffin tins is a game-changer for meal prep and waste reduction.
This simple method not only helps with leftover organization but also maximizes the benefits of your muffin tin.
Here’s how to do it:
-
- Fill each muffin cup with your leftover dish.
-
- Cover with plastic wrap or aluminum foil.
-
- Freeze until solid.
-
- Transfer individual portions to a resealable freezer bag or container.
16. Use an Ice Cube Tray for Herbs
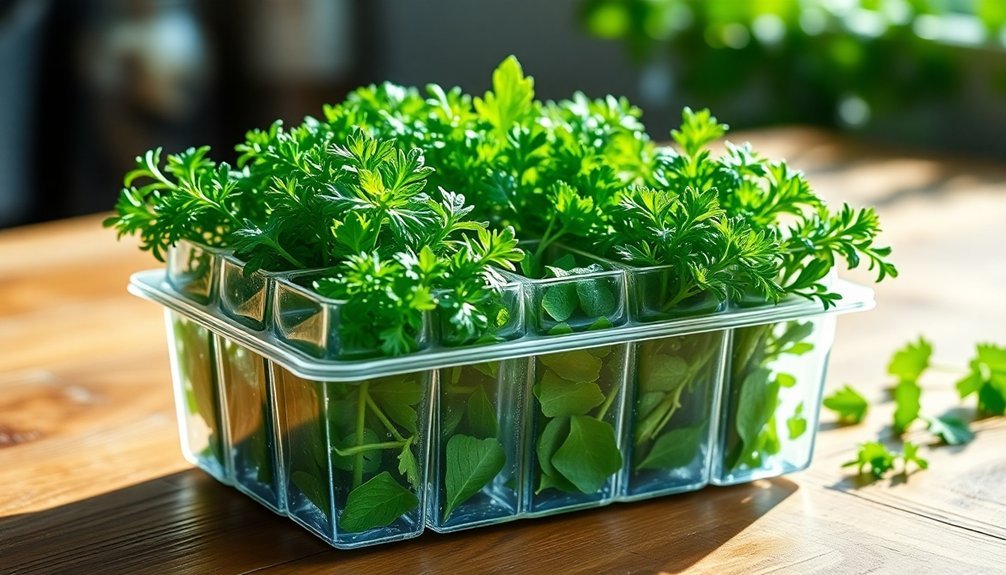
After mastering the art of freezing leftovers in muffin tins, you can take your meal prep to the next level by using an ice cube tray to preserve fresh herbs.
Simply chop your favorite herbs—like basil, parsley, or cilantro—fill the ice cube trays with water or olive oil, and freeze. This method not only guarantees herb preservation but also gives you pre-measured portions ready for any dish.
Each frozen herb cube can last up to six months, maintaining its flavor and nutritional value. To stay organized, label the trays with the herb type and date, ensuring you use them before they lose potency.
It’s a simple, practical hack that elevates your cooking while minimizing waste!
17. Keep Cutting Boards From Slipping
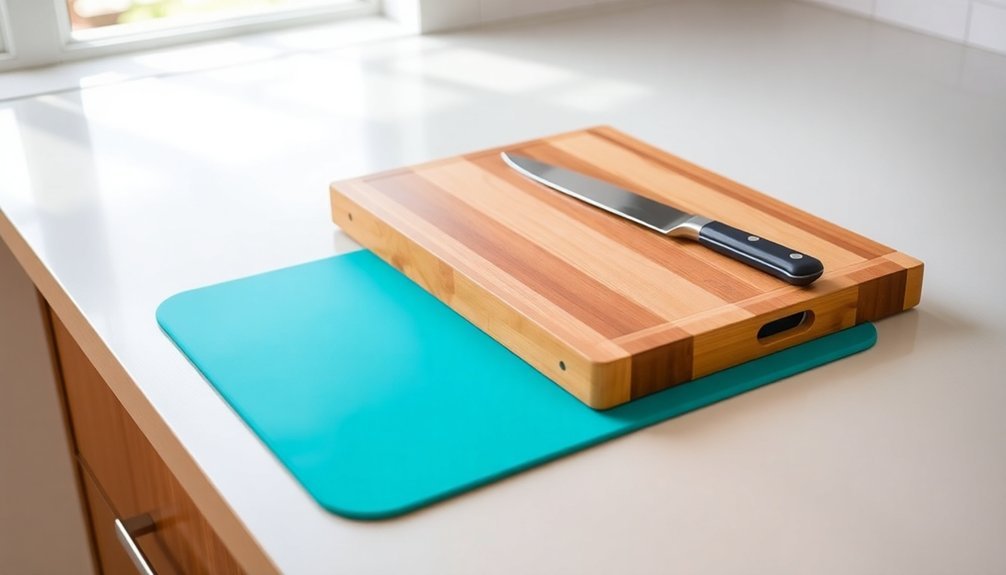
If your cutting board slips while you’re chopping, it can be frustrating and even unsafe.
Try placing a damp paper towel or a non-slip mat underneath to keep it steady, or secure it with a rubber band for extra grip.
These simple tricks can make your food prep smoother and more enjoyable.
Use Damp Paper Towel
One simple yet effective kitchen hack can make all the difference when you’re chopping ingredients: placing a damp paper towel under your cutting board. This technique enhances cutting board stability and improves safety in the kitchen.
Here’s how it works:
-
- Create Friction: The dampness generates grip, preventing slips.
-
- Versatile Use: It works well on wood, plastic, and glass cutting boards.
-
- Surface Protection: Moisture doesn’t damage the board or food.
-
- Quick & Easy: No special tools are needed—just wet a paper towel!
Whether you’re a novice or a seasoned chef, this simple hack reduces the risk of accidents and streamlines your cooking process.
Incorporate this kitchen safety tip, and enjoy a more efficient chopping experience!
Try Non-Slip Mats
Non-slip mats are a game changer when it comes to kitchen safety. By placing one under your cutting board, you create a stable surface that prevents slipping during food prep, enhancing both cutting board safety and kitchen efficiency.
Made from rubber or silicone, these mats grip your countertop firmly, ensuring your board stays put while you slice or chop. This not only reduces the risk of accidents but also prolongs the lifespan of your cutting boards by minimizing wear and tear.
Plus, they’re easy to wash and reusable, making them a cost-effective solution for your cooking needs. Give non-slip mats a try; you’ll wonder how you managed without them!
Secure With Rubber Bands
Rubber bands can be your secret weapon for keeping cutting boards in place as you prep your meals. They offer great rubber band benefits, providing you with an effective and cost-efficient non-slip solution.
Here’s how to use them:
-
- Wrap a rubber band around the edge of your cutting board.
-
- Adjust the tightness based on your countertop’s texture and the board’s size.
-
- Enjoy added stability while chopping, reducing the risk of slips or accidents.
-
- Easily remove the bands for quick cleanup after cooking.
This simple hack enhances safety and convenience in your kitchen, making your prep work smoother and more enjoyable.
Next time you’re cooking, don’t forget about this easy fix!
18. DIY Drawer Organizers From Cardboard
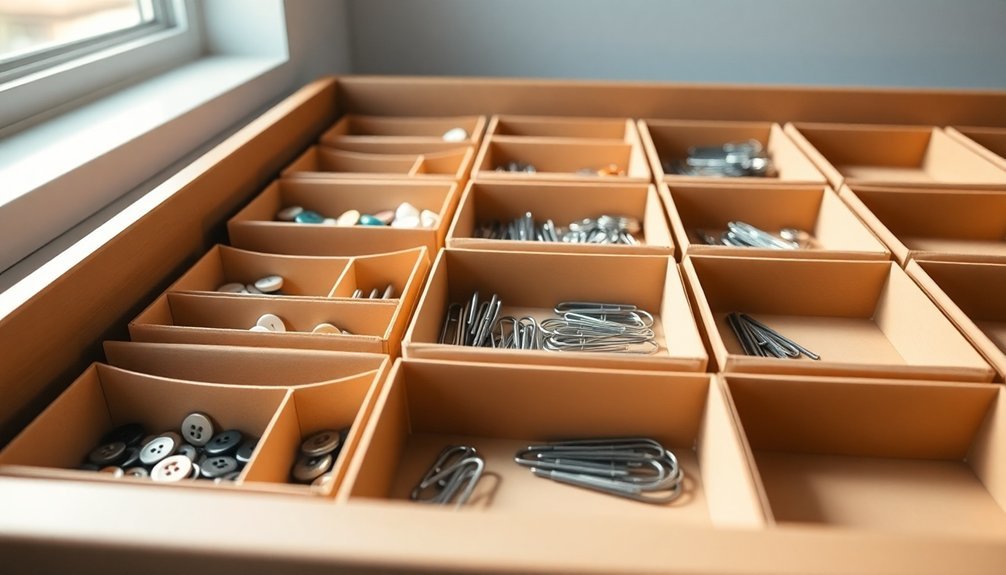
Transforming your cluttered drawers into organized spaces can be a breeze with DIY drawer organizers made from cardboard. By cutting cardboard into various sizes, you can create snug compartments that maximize space efficiency.
The best part? You can customize layouts to perfectly fit your items, whether it’s office supplies or kitchen utensils. Just fold and glue the pieces together, and you’re on your way to an organized drawer.
Plus, cardboard benefits the environment by repurposing materials that might otherwise end up in the trash. For a touch of flair, consider painting or covering your organizers with decorative paper.
This way, you’ll have functional, visually appealing solutions that help reduce clutter and make finding items a snap!
19. Remove Stains With Baking Soda Paste
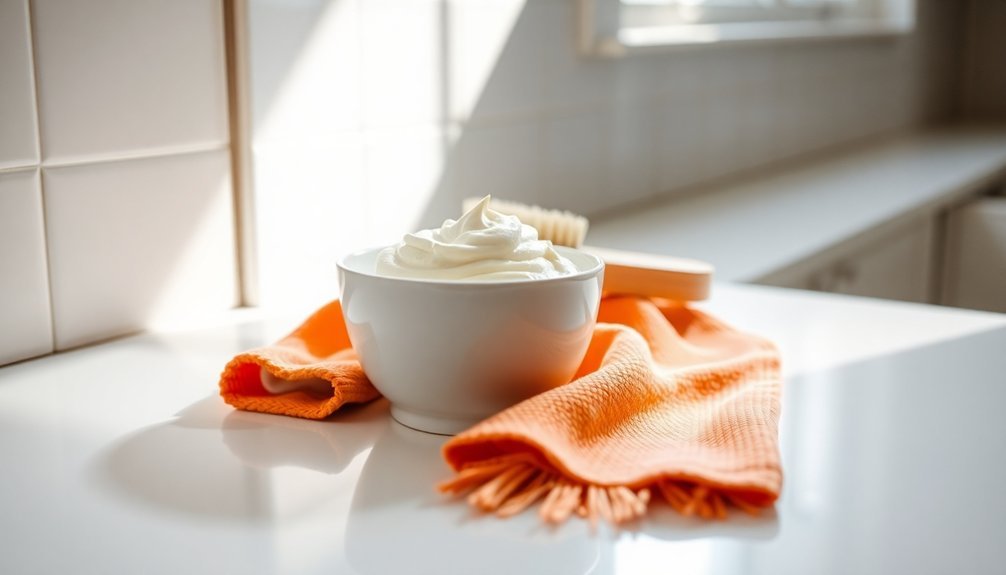
When faced with stubborn stains, you might find that a simple baking soda paste can be your best ally. This natural, non-toxic solution effectively lifts stains from fabrics and carpets, making it safe around kids and pets.
Here’s how to use it for effective stain removal:
-
- Mix baking soda with water until you create a thick paste.
-
- Apply the paste directly to the stain, ensuring it’s fully covered.
-
- Let it sit for at least 30 minutes to penetrate and break down the stain.
-
- Rinse or blot the area with a damp cloth to remove any residue.
This method works wonders on food, grease, and other spills, providing an eco-friendly, cost-effective cleaning solution.
20. Use a Tension Rod to Maximize Closet Space

If you’re struggling with limited closet space, a tension rod can be your secret weapon for maximizing storage.
Installing a tension rod vertically or horizontally creates extra hanging space for accessories like scarves, belts, or ties. You can effectively utilize the wasted space above your hanging clothes, making closet organization a breeze.
This hack shines in small closets where floor space is tight, allowing you to keep everything neat and accessible. Plus, tension rods are adjustable and repositionable, adapting to your evolving wardrobe needs effortlessly.
Best of all, at just $10-$20, this cost-effective solution enhances your closet organization without the hassle of permanent fixtures.
Transform your closet today with this simple yet ingenious tension rod storage idea!
21. Quick Fix for Squeaky Doors
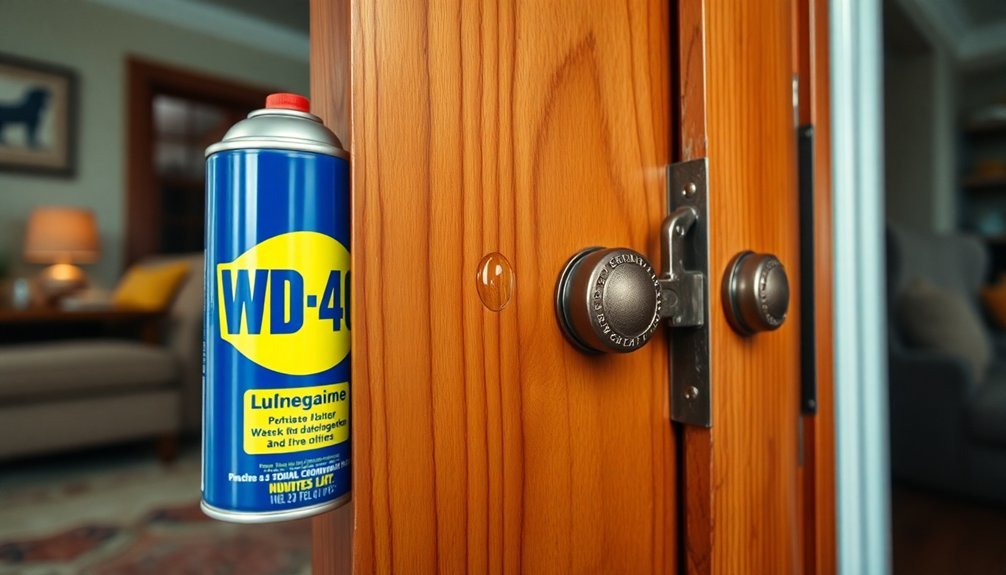
A well-organized home isn’t just about maximizing space; it’s also about ensuring everything runs smoothly, including your doors.
If you’re dealing with squeaky hinges, here are some quick fixes for effective door maintenance:
-
- Lubricate: Apply WD-40 or silicone spray to the hinges while moving the door to spread it evenly.
-
- Household Alternatives: Use olive oil or petroleum jelly in a pinch for temporary lubrication.
-
- Clean First: Wipe the hinges with a cloth to remove dirt before applying any lubricant.
-
- Natural Option: Mix equal parts vinegar and water, spray on the hinges, then add a small amount of oil for lasting smoothness.
Regularly checking your hinges can help you avoid those annoying squeaks!
22. Organize Cables With Toilet Paper Rolls

Tired of tangled cables cluttering your space? You can easily transform empty toilet paper rolls into an effective cable management solution.
Simply insert individual cables into each roll to prevent knots and chaos. To make your life even easier, label each roll with the type of cable or device it belongs to, so you can find what you need in a snap.
This eco-friendly storage hack not only utilizes items you’d otherwise discard but also promotes sustainability.
Stack multiple labeled rolls in a box or drawer to maximize space and keep everything neat. For a decorative touch, cover the rolls with wrapping paper or paint to match your home’s décor while staying organized.
23. Create a Message Board With a Frame

After tackling cable chaos, why not take on another clutter challenge? Creating a message board with a frame is a fun and functional DIY project. Here’s how to do it:
-
- Choose a Frame: Select a frame style that complements your decor and has an easy-to-remove backing.
-
- Replace the Glass: Take out the glass and substitute it with corkboard or fabric-covered foam board for pinning notes.
-
- Personalize It: Decorate the frame with paint or fabric to enhance its look and match your space.
-
- Mount It: Attach your new message board to a wall with adhesive strips or nails, ensuring it’s accessible for notes.
Now you’ve got a stylish message board that’s perfect for reminders, inspiration, or family messages!
24. Use a Coffee Filter to Clean Screens
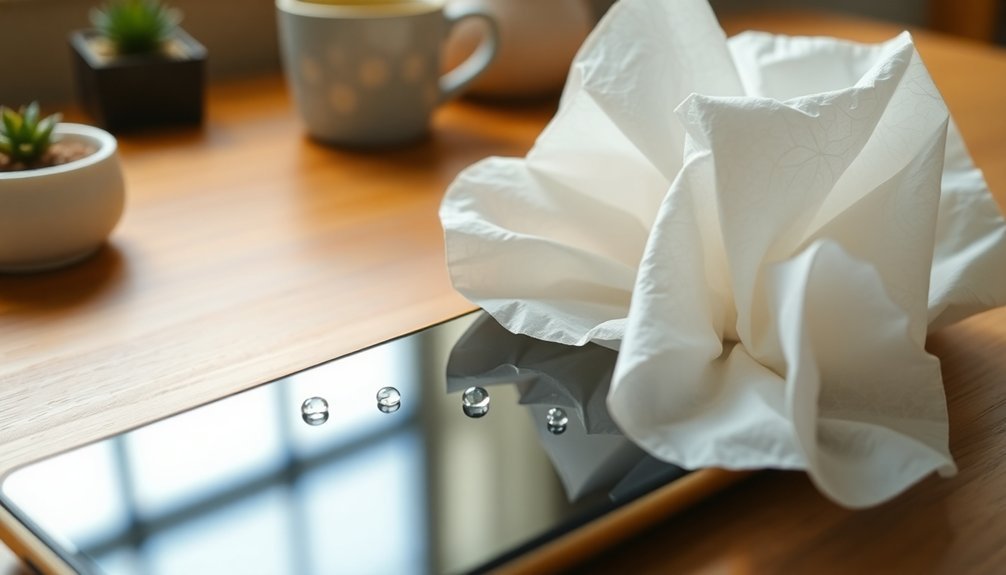
While keeping your screens clean may seem like a hassle, using a coffee filter can make the task quick and effective.
These filters are lint-free, ensuring you won’t leave behind any residue or scratches. They’re absorbent, easily picking up dust, fingerprints, and smudges from your television, computer monitor, or smartphone.
One of the best coffee filter benefits is their cost-effectiveness; you can reuse them multiple times before disposal. For ideal results, slightly dampen the filter with water or a gentle screen-safe cleaner.
This simple hack not only helps maintain screen clarity but also reduces your reliance on pricey screen cleaning products, making it a smart choice in your screen cleaning techniques.
25. Travel-Sized Cleaning Supplies for On-the-Go
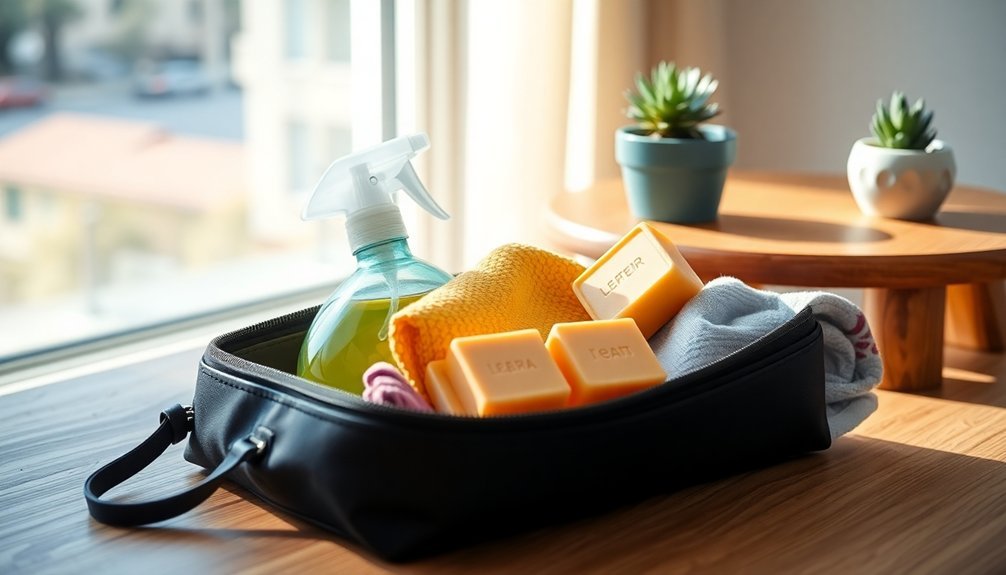
How can you keep your space sparkling clean while traveling? With the right travel-sized cleaning supplies in your portable cleaning kits, you can tackle messes on the go.
Here are some essentials for effective travel organization:
-
- Mini Bottles: Pack concentrated cleaning solutions that you can dilute with water.
-
- Microfiber Cloths: Opt for reusable cloths instead of disposable ones; they’re compact and eco-friendly.
-
- Stain Removers: Carry pen-sized stain sticks to quickly deal with spills on clothing or upholstery.
-
- Baking Soda: This versatile item can deodorize and assist with spot cleaning.
Conclusion
Now that you’re armed with these 25 genius home hacks, you can tackle everyday challenges like a pro. Remember, “A stitch in time saves nine”—so don’t wait to put these tips into action! From keeping bananas fresh to organizing cables, these simple tricks will save you time and make your space more efficient. Immerse yourself and start experimenting; you’ll wonder how you ever lived without them! Your home will thank you for it.

