You can transform everyday items into stunning creations with these 20 DIY craft hacks! Upcycle plastic bottles into charming planters or turn wine corks into a stylish bulletin board. Make your own tote bags from old T-shirts, and create eye-catching wall art using old magazines. Plus, personalized mason jar storage and painted rock garden markers add flair to your space. Keep exploring these creative projects, and you’ll uncover even more ways to release your artistic potential!
1. Upcycled Bottle Planters
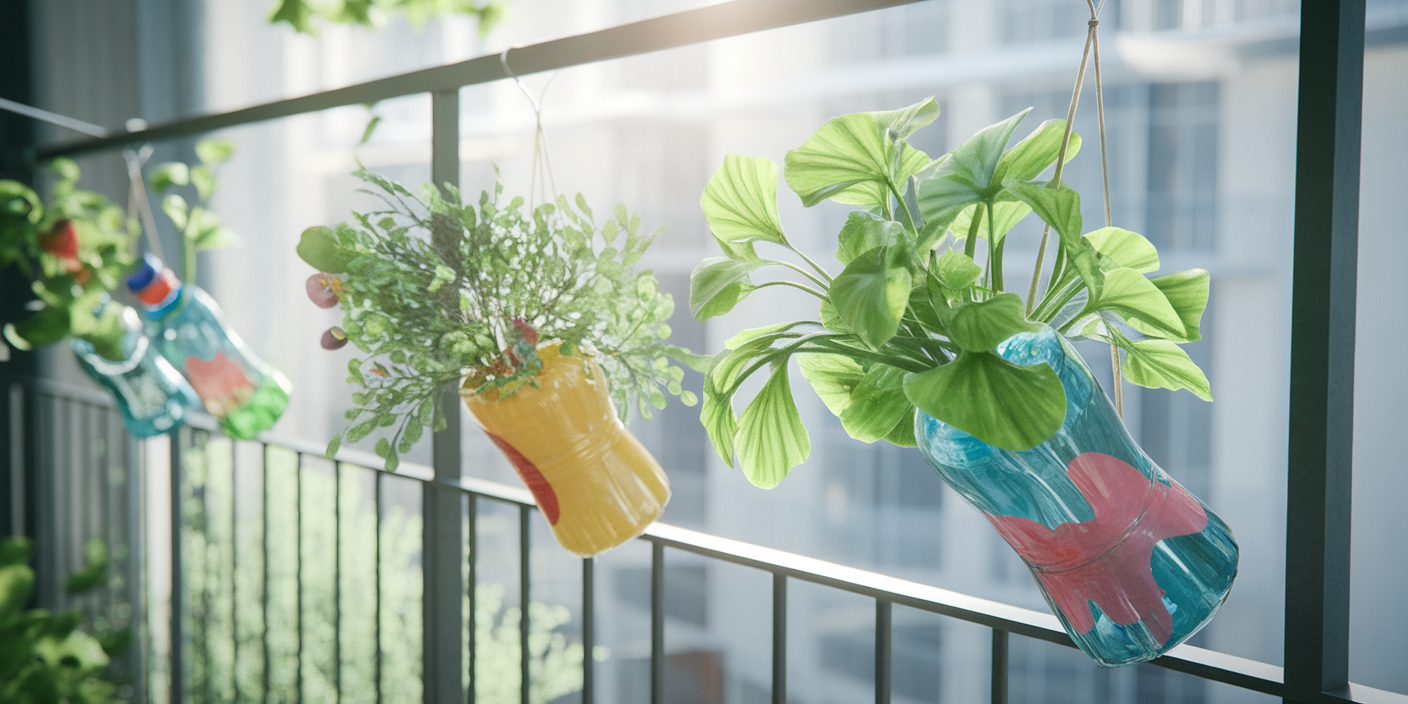
If you’re looking to add a touch of greenery to your space while being eco-friendly, upcycled bottle planters are a fantastic solution.
These planters, made from plastic or glass bottles, allow you to engage in sustainable gardening while embracing creative recycling. Simply cut your bottles in half, ensuring you create drainage holes for healthy plant growth.
You can personalize them by painting or decorating to match your decor, making your garden truly unique. Using a mix of potting soil and compost not only nourishes your plants but also reduces waste.
Plus, hanging bottle planters can save space in urban settings, transforming limited areas into vibrant green havens. Immerse yourself in this project and let your creativity blossom!
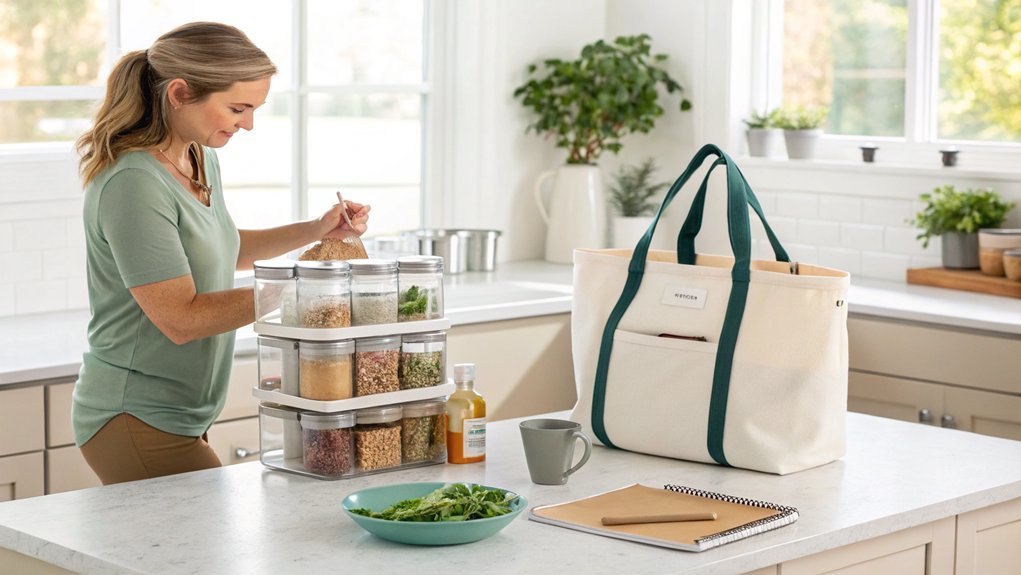
2. Decorative Mason Jar Storage
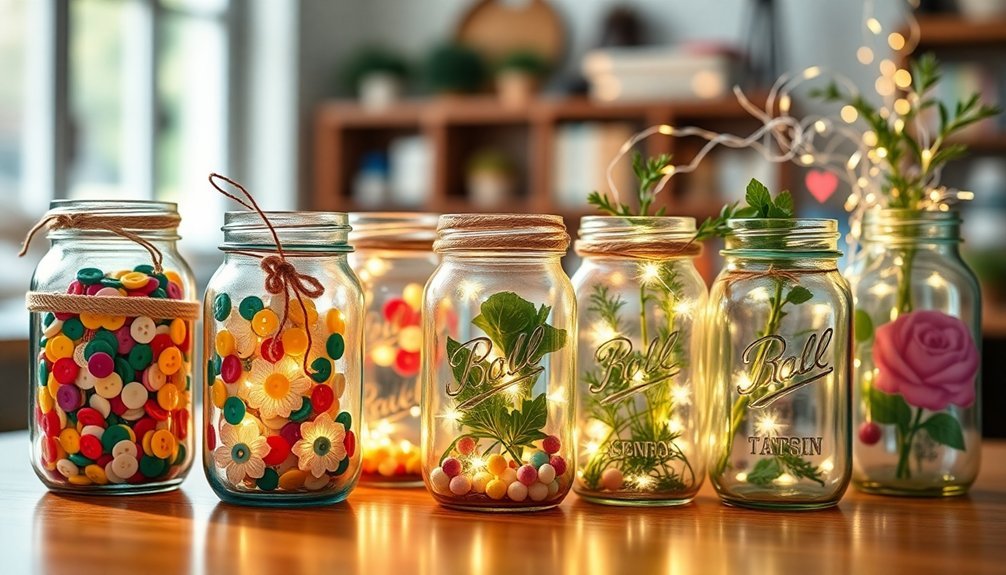
Transform your clutter into a stylish display with decorative mason jar storage.
By personalizing these jars to match your home decor, you not only organize your space but also add a unique touch that reflects your personality.
Whether you’re storing craft supplies or kitchen essentials, these versatile jars can elevate your home while keeping everything neatly in place.
Stylish Organization Solutions
When you want to elevate your home organization while adding a touch of charm, decorative mason jars are the perfect solution.
These versatile containers blend mason jar aesthetics with functional decor, making them ideal for stylish organization. Customize your jars with paint, twine, or labels to match your decor, transforming them into eye-catching storage for craft supplies or kitchen utensils.
Group various sizes on shelves or in cabinets to create an aesthetically pleasing display that maximizes space. Adding lids with holes turns them into charming holders for utensils or tools, keeping your workspace tidy.
With their unique appeal and practicality, mason jars can revolutionize your organization game while bringing beauty to your home.
Personalized Jar Designs
Personalizing your mason jars not only enhances their utility but also allows you to express your creativity and style. Immerse yourself in jar painting techniques to create stunning visuals that complement your home decor.
Whether you opt for vibrant colors or subtle pastels, the choice is yours! Don’t forget decorative labeling ideas; adding labels or tags makes it easy to identify contents like spices or craft supplies.
For an elegant touch, wrap twine, ribbons, or lace around the jar’s neck. Want to elevate your decor? Fill a jar with LED y lights to create enchanting ambient lighting.
Experiment with various sizes and shapes for versatile storage solutions, turning your jars into functional art pieces that reflect your unique flair.
3. T-Shirt Tote Bags
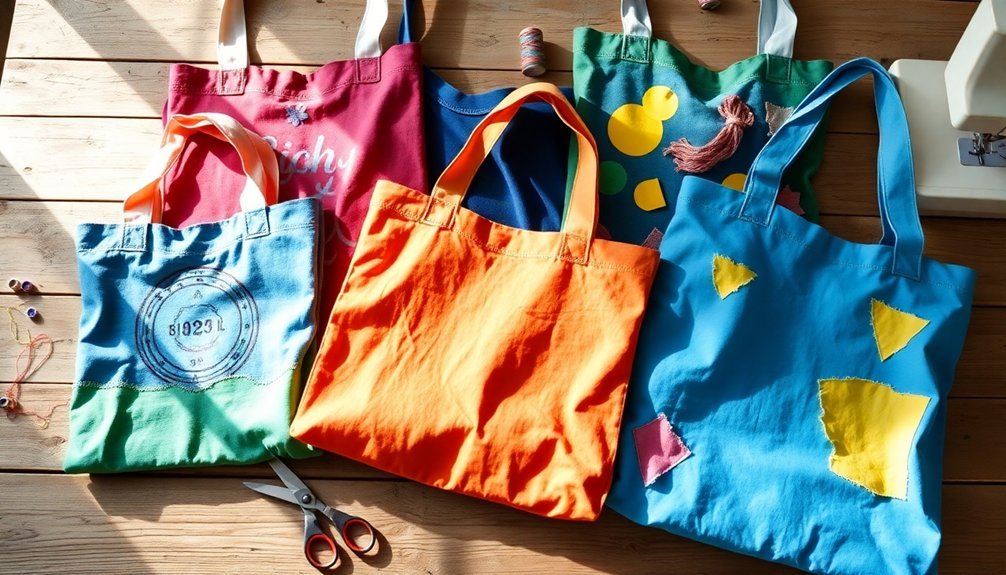
Transforming an old T-shirt into a stylish tote bag isn’t only easy but also a fun way to express your creativity.
With just a few simple materials and straightforward steps, you can craft a unique bag that reflects your personality while helping the planet.
Easy Materials Needed
Creating your own T-shirt tote bag is a fun and eco-friendly project that requires just a few simple materials.
You’ll need a clean, old T-shirt—preferably one you no longer wear. Grab a pair of scissors, and if you want added durability, fabric glue can be your secret weapon.
This project is perfect for anyone, as it requires no sewing skills and uses eco-friendly materials, helping you reduce waste while expressing your creativity.
With just these crafting tools, you’re set to turn something old into something new and functional.
Step-by-Step Instructions
Once you’ve gathered your materials, you’re ready to plunge into this simple yet rewarding project. Transforming an old t-shirt into a stylish tote bag isn’t just fun; it’s a step toward sustainable fashion and eco-friendly crafts.
- Old t-shirt
- Scissors
- Creativity
- Passion for recycling
Start by laying the t-shirt flat and cutting off the sleeves and neckline.
Turn it inside out and tie a knot at the bottom to create the bag’s base.
Cut the remaining fabric into 1-2 inch fringe strips for a braided or knotted closure.
Secure these strips tightly, ensuring no gaps remain.
Finally, flip your t-shirt right side out, and there you have it—a functional tote bag that’s both chic and environmentally conscious!
Creative Design Ideas
While you might think of a tote bag as just a practical item, it can also be a canvas for your creativity. Transforming old t-shirts into tote bags isn’t just an eco-friendly project; it’s a chance to showcase your unique t-shirt designs.
With minimal sewing skills, you can cut off the sleeves and neckline, then tie the hem for a stylish bag that’s both functional and fun. Immerse yourself in customization with fabric paint, patches, or other embellishments to reflect your personal style.
Each bag, measuring about 15 by 16 inches, offers ample space for groceries or everyday items. Not only are you reducing waste, but you’re also making a statement with your one-of-a-kind creation.
Get crafting!
4. DIY Wall Art From Old Magazines
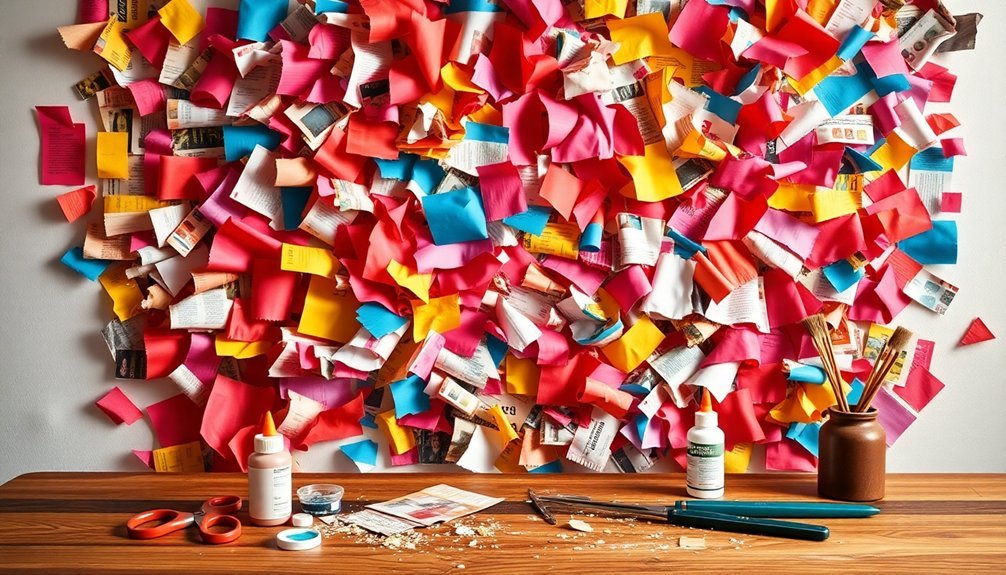
Transforming old magazines into stunning wall art is a fun and creative way to personalize your living space. By employing magazine collage techniques, you can create unique pieces that reflect your personality.
Start by cutting out colorful images and assembling them on a canvas or wooden board. Here are some ideas to inspire you:
- Experiment with wall art themes like nature, fashion, or abstract designs.
- Layer images and use varying sizes for added depth.
- Adhere your cutouts with mod podge or glue for a textured finish.
- Frame your completed collage for a polished look.
Let your creativity flow, and watch as your walls come alive with your personal touch!
5. Painted Rock Garden Markers
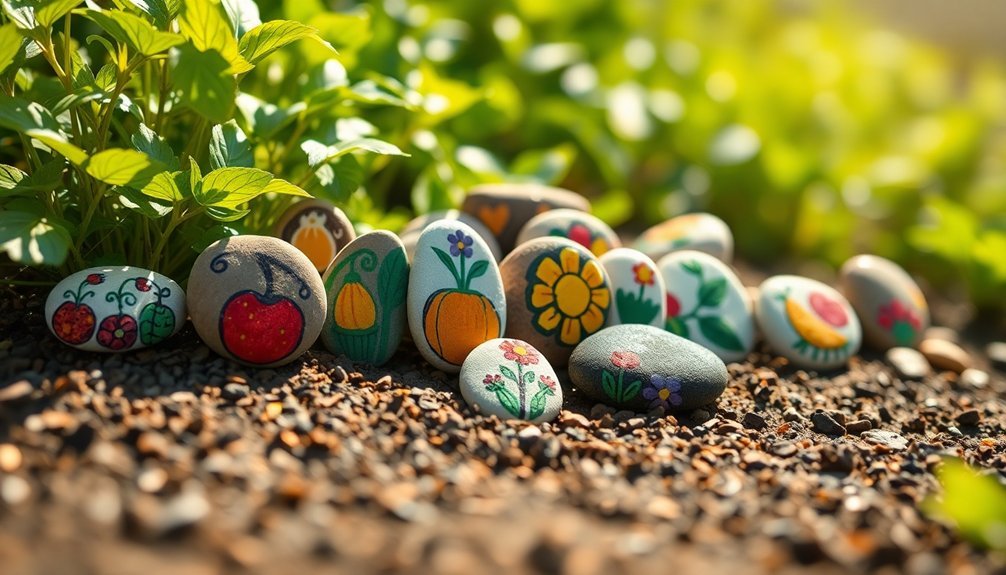
Add a splash of color and creativity to your garden with painted rock garden markers! These charming markers not only enhance garden aesthetics but also allow for creative expression.
Start by gathering smooth, flat rocks and weather-resistant acrylic paint. After painting, protect your designs with a clear sealant to guarantee they withstand rain and sunlight.
Use a variety of colors and styles for each marker, making it easy to identify your plants while creating an engaging visual display. This eco-friendly project repurposes natural materials, helping you avoid plastic labels.
By personalizing your garden, you’ll cultivate a space that reflects your unique style while enjoying the satisfaction of a DIY endeavor.
Get started today, and let your garden flourish!
6. Scrap Fabric Coasters
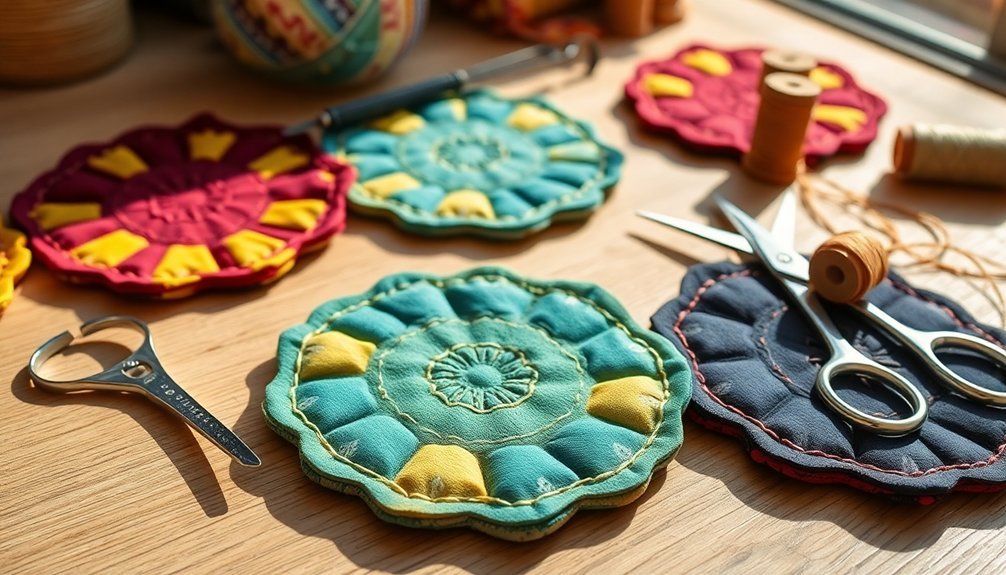
If you’re enjoying the creativity of painted rock garden markers, why not continue that artistic journey with scrap fabric coasters?
These coasters offer a fantastic way to repurpose leftover fabric while enhancing your home décor. You can immerse yourself in fabric scrap storage, stitching together colorful pieces for unique coaster customization.
- Layer your scraps with felt or batting for durability.
- Customize shapes and sizes to fit your style.
- Use a zigzag stitch to prevent fraying.
- Embellish with fabric paint or buttons for a personal touch.
7. Wine Cork Bulletin Board
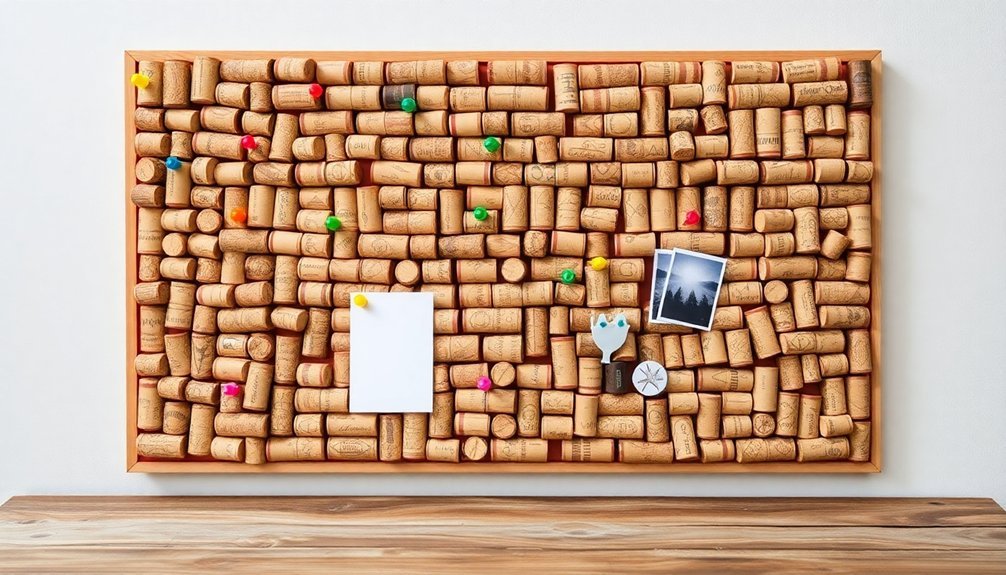
Creating a wine cork bulletin board isn’t just a craft; it’s a way to showcase your personality and memories.
You’ll need around 40-50 wine corks and a sturdy base, like cardboard or wood, to get started on this fun project.
Let’s go through the step-by-step process to transform those corks into a functional piece of art for your space!
Materials Needed Overview
Crafting a wine cork bulletin board is a fantastic way to combine creativity with functionality, turning simple materials into a stylish organizational tool.
To get started, gather around 30-50 corks, ensuring quality for durability with these cork selection tips. You’ll need a sturdy backing like cardboard or corkboard, and don’t forget the glue options; a hot glue gun works wonders for secure adhesion.
Consider enhancing your board with decorative fabric or paint for a polished look.
Here’s a quick materials list to guide you:
- Wine corks (30-50)
- Sturdy backing material
- Hot glue gun or strong craft glue
- Optional embellishments (ribbon, paint)
With these materials, you’re ready to create something truly unique!
Step-by-Step Instructions
Transforming wine corks into a stylish bulletin board is an exciting project that adds both charm and utility to your space.
Start by gathering 20-30 corks and a sturdy backing like cardboard or corkboard—great sustainable materials! Arrange the corks in creative patterns or a neat grid, ensuring even spacing.
Once you’re satisfied with the layout, use a strong adhesive or hot glue to attach each cork securely. For a personalized touch, paint or stain the corks to match your décor, or keep them natural for a rustic vibe.
After everything’s dry, hang your completed bulletin board using wall hooks or adhesive strips.
Now, enjoy pinning important notes and reminders in a uniquely crafted piece that enhances your home!
8. Repurposed Tin Can Lanterns
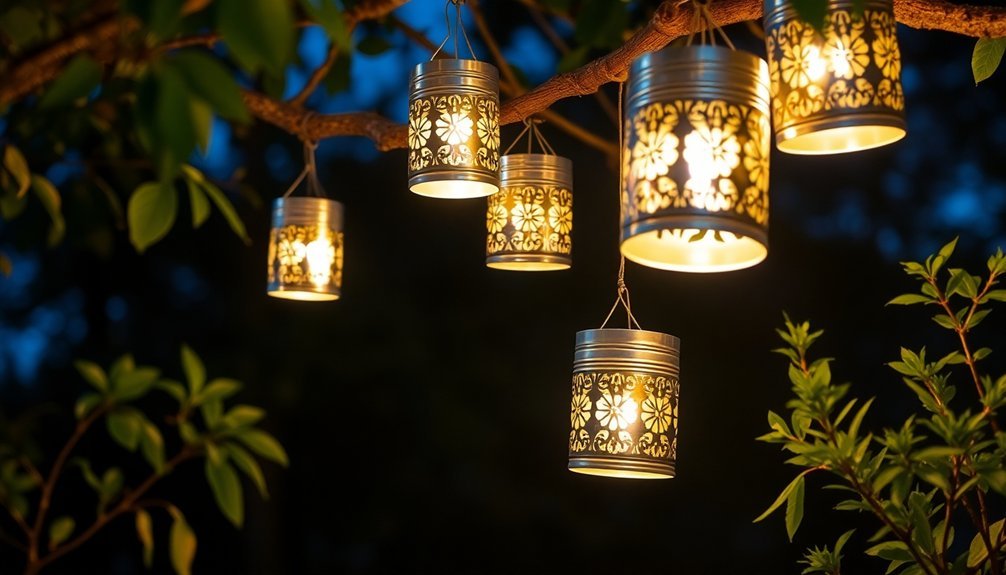
Repurposed tin can lanterns can add a charming touch to any space, effortlessly blending creativity with sustainability. By turning everyday items into stunning decor, you not only beautify your environment but also promote eco-friendliness.
- Release your creativity with unique tin can designs.
- Create varying light effects with different can sizes and hole shapes.
- Use heat-resistant spray paint for a colorful, rust-proof finish.
- Prioritize LED safety by opting for LED tealight candles.
These lanterns are perfect for outdoor gatherings or cozy indoor settings. You’ll find joy in crafting and showcasing your artistic flair while contributing to a greener planet.
9. Button-Embellished Picture Frames
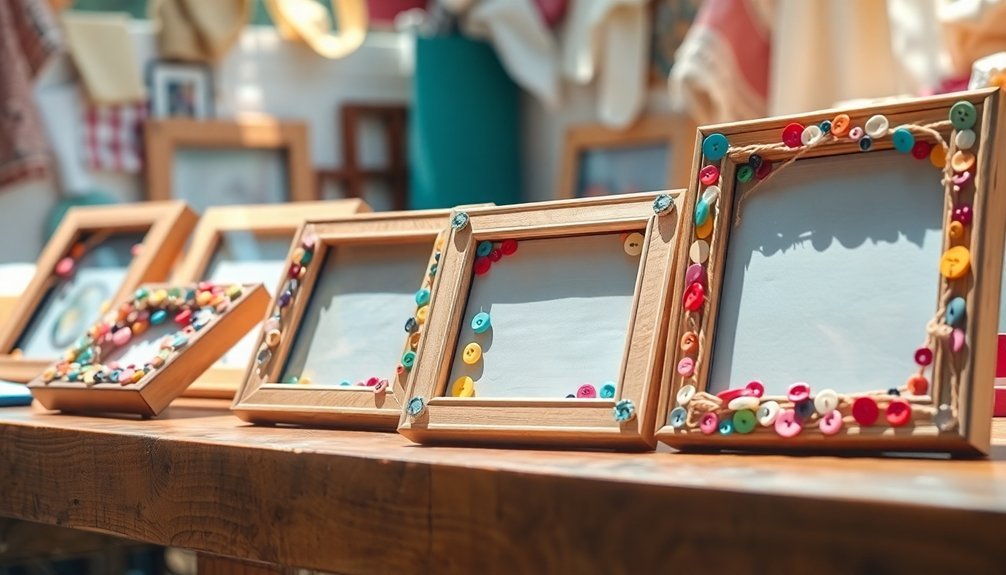
Button-embellished picture frames can instantly elevate your home decor with a personal touch that’s both creative and sentimental.
Start with a plain wooden or cardboard frame, which you can easily find at craft stores. Next, gather an assortment of buttons in various sizes, colors, and styles for your button selection.
Consider painting the frame a solid color before attaching the buttons for a polished look. Use a strong adhesive like hot glue to securely attach the buttons, covering the entire surface for a cohesive design.
Arrange the buttons in a pattern that resonates with your style, whether it’s random, gradient, or themed. Once completed, display your frame with a cherished photo, showcasing your unique DIY craft proudly in your home.
10. DIY Candle Holders From Glass Jars
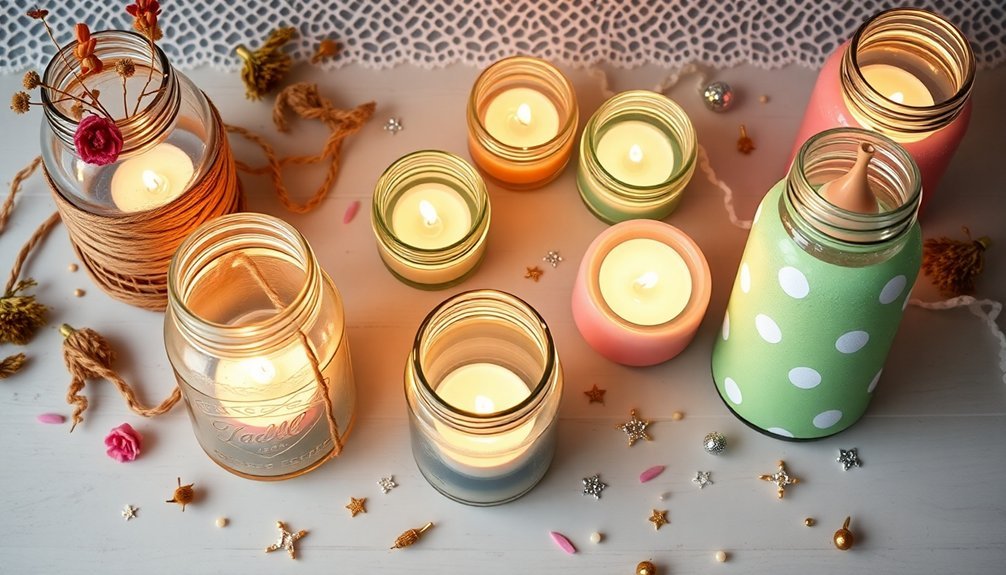
You can easily upcycle your empty glass jars into stunning candle holders that add warmth and charm to any space.
With a little creativity, you can personalize each piece using paint, twine, or even a frosted effect for a unique touch.
Let your imagination run wild as you experiment with different sizes and styles to create an enchanting display that reflects your personality.
Upcycling Glass Jars
Transforming ordinary glass jars into stunning DIY candle holders not only breathes new life into what might otherwise be discarded but also adds a personal touch to your home decor.
Start by cleaning the jars and removing labels. Decorate with paint, twine, or stencils for unique jar decoration. Remember candle safety—opt for heat-resistant jars and consider using LED candles to avoid fire hazards.
- Add sand or pebbles for stability and style.
- Group jars of different shapes and sizes for a fascinating centerpiece.
- Use frosted glass spray for a chic look.
- Let candlelight shine through with creative patterns.
Embrace this upcycling project; it’s a beautiful way to express your creativity while being eco-friendly!
Creative Candle Holder Designs
After upcycling glass jars into charming candle holders, the next step is to explore creative designs that can elevate your home decor.
Consider using various candle holder materials like twine or burlap to wrap around the jar for a rustic touch. For a personalized flair, apply decorative painting techniques such as glass paint or washi tape.
Want something stunning? Try an ombre effect with spray paint, blending colors to create visual intrigue. If safety’s a concern, LED tealight candles offer a gorgeous glow without the fire risk.
Enhance your creations by adding beads, shells, or dried flowers inside the jar, transforming them into unique centerpieces that capture attention and spark conversation.
11. Colorful Paper Bead Jewelry
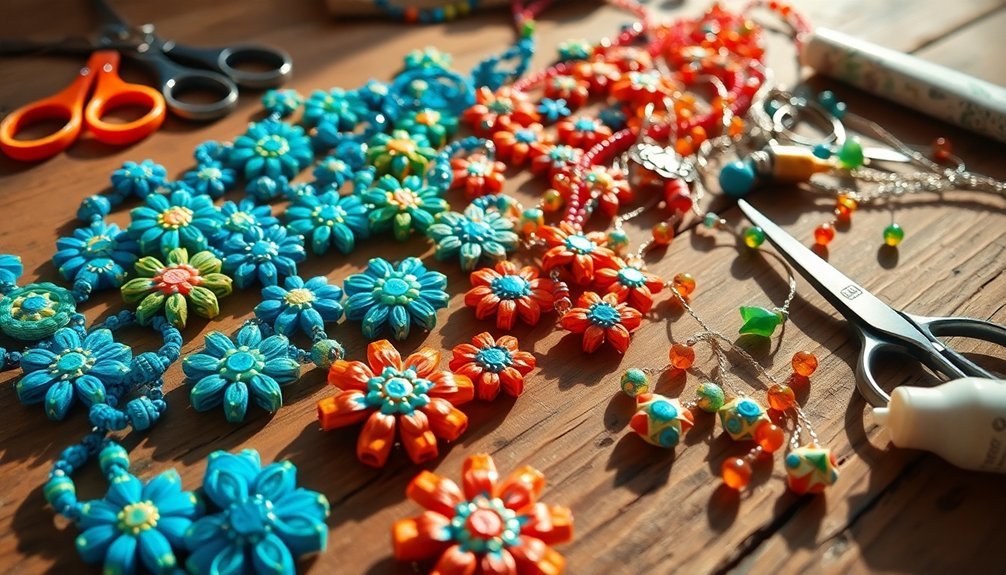
Creating colorful paper bead jewelry opens up a world of creativity and self-expression, as you can easily craft unique pieces that reflect your personal style.
By mastering bead rolling techniques, you’ll transform simple strips of patterned paper into stunning beads. Experiment with various materials like magazine pages and scrapbook paper to explore exciting color combination ideas.
- Discover endless design possibilities.
- Express your individuality with every piece.
- Enhance durability with a coat of varnish.
- Combine beads with charms for added flair.
As you string your beads onto elastic cord, you’ll create a custom-fit bracelet.
Immerse yourself in this fun project and let your imagination soar; you might just find your new favorite accessory awaits!
12. Customized Wooden Spoons
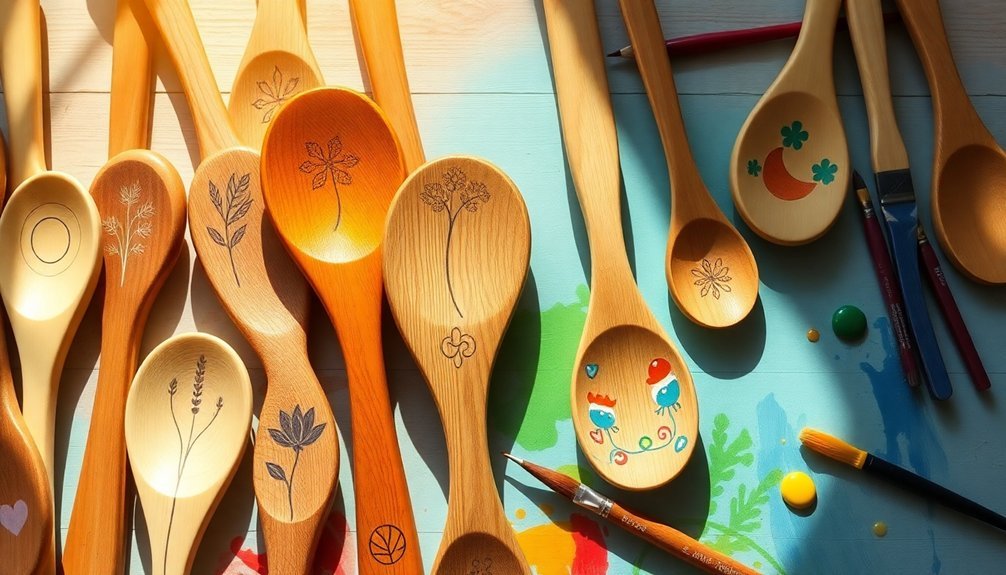
Personalizing wooden spoons opens up a world of creativity in your kitchen and makes for thoughtful gifts.
Whether you choose to burn designs, paint handles, or add fabric, each technique adds a unique touch that transforms ordinary utensils into cherished treasures.
Embrace this opportunity to express your style and elevate your cooking experience!
Personalization Techniques Explored
Have you ever considered how a simple wooden spoon can transform into a cherished keepsake or a thoughtful gift?
Personalizing wooden spoons isn’t only fun but also meaningful. You can use wood burning to etch intricate designs and names, making each spoon unique.
With food-safe acrylic paints, add vibrant colors that’ll brighten your kitchen. For a rustic touch, apply a natural wood stain and sealant to enhance the grain while protecting the wood.
Don’t forget to embellish the handle with twine or beads for a special flair!
- Create lasting memories
- Make cooking more personal
- Surprise loved ones with custom gifts
- Foster creativity in your craft
Let your imagination run wild with these techniques!
Practical Uses and Benefits
While you might think of wooden spoons as just basic kitchen tools, customizing them can turn them into indispensable culinary companions that elevate your cooking experience.
Personalized wooden spoons not only showcase your unique style but also offer significant cooking benefits. Using food-safe paints or oils protects the wood from moisture and enhances durability, ensuring your spoons last longer. Plus, they won’t scratch your non-stick cookware, preserving your favorite kitchen tools.
Customized spoons make delightful gift ideas for weddings or housewarmings, adding a heartfelt touch that recipients will cherish. Engaging in the DIY process also nurtures creativity, making it a fun, therapeutic activity.
13. Clothespin Photo Display
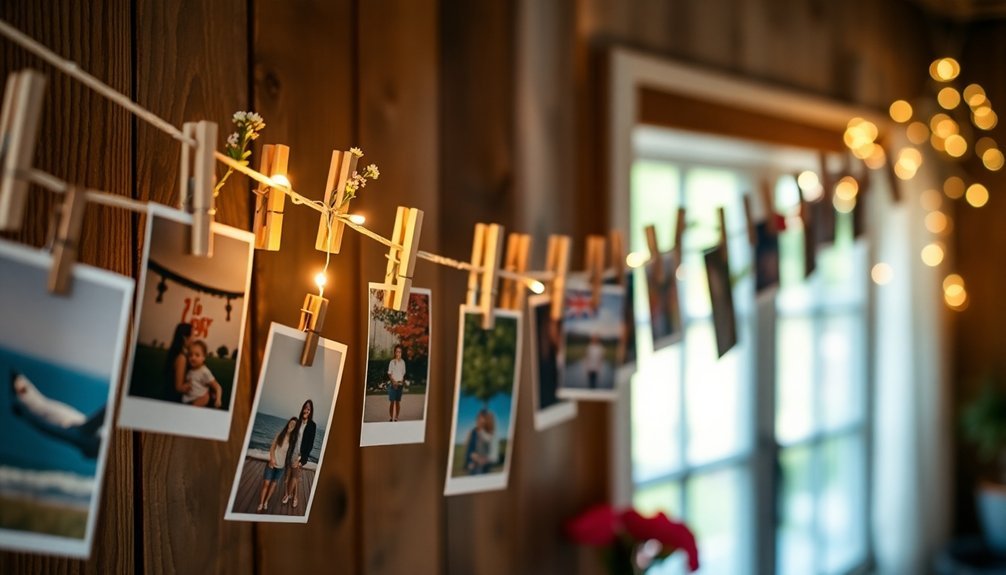
Transform your living space with a charming clothespin photo display that not only showcases your favorite memories but also adds a unique touch to your decor.
This DIY project is simple and cost-effective, allowing you to create a personalized gallery.
- Choose creative color schemes for your clothespins that complement your home.
- Use photo arrangement tips to create a visually appealing layout.
- Secure your string or wire with adhesive hooks for easy updates.
- Add decorative elements like y lights for a whimsical touch.
14. Stenciled Canvas Bags
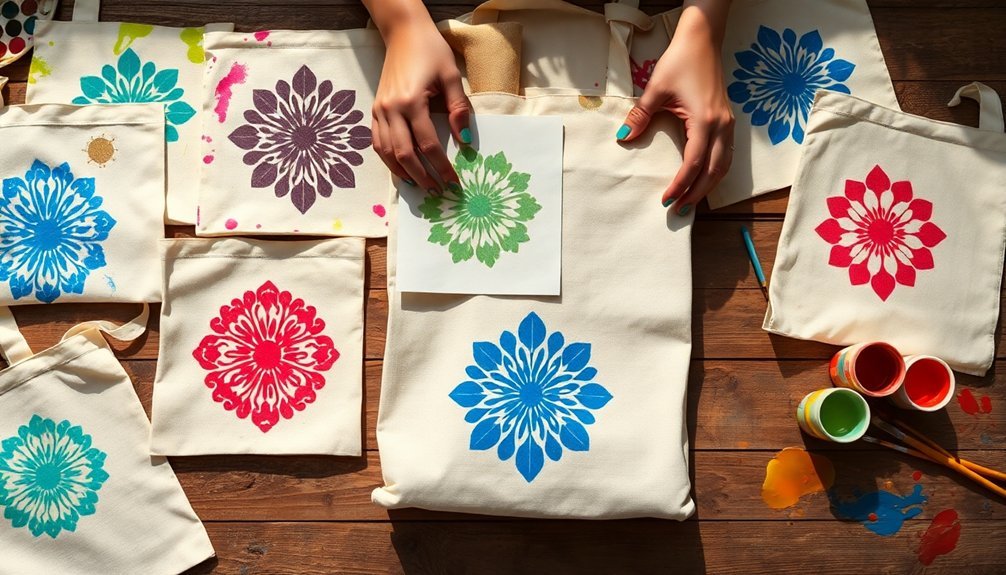
If you’re looking to add a personal flair to your accessories, stenciled canvas bags offer an exciting opportunity to showcase your creativity. With simple stencil techniques, you can customize your bag to reflect your unique style.
Start by printing or drawing your desired pattern on cardstock, then cut it out. Secure the stencil to your bag with painter’s tape, ensuring it stays in place. Use a sponge or foam brush to gently apply fabric paint for even coverage.
Once dry, heat seal your design with an iron on a low setting. These bags aren’t just stylish; they’re practical for grocery shopping or as chic fashion accessories.
Immerse yourself in bag customization and let your imagination run wild!
15. Fabric Scrap Wall Hangings
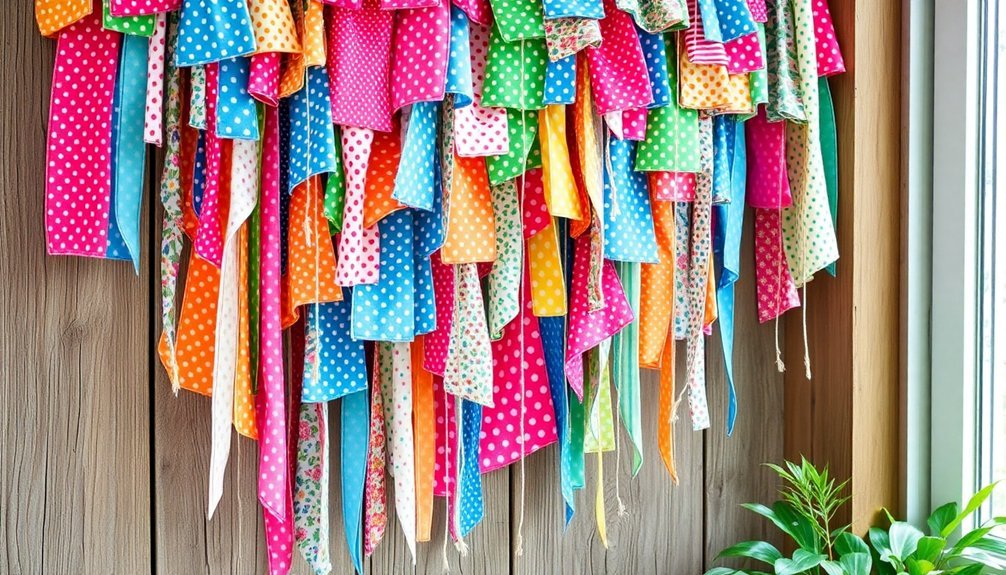
Creating fabric scrap wall hangings is a fantastic way to breathe new life into leftover materials while adding a burst of color and texture to your space.
By using fabric color combinations and texture layering, you can craft a unique piece that reflects your personality.
- Gather a variety of fabric scraps in different textures and hues
- Use a sturdy backing like canvas or wood
- Experiment with patterns, like collages or geometric designs
- Incorporate embellishments like beads or ribbons
Not only is this approach sustainable and cost-effective, but it also allows you to personalize your decor.
Immerse yourself in your fabric stash and watch as your creativity transforms simple scraps into stunning art for your walls!
16. Pallet Wood Furniture
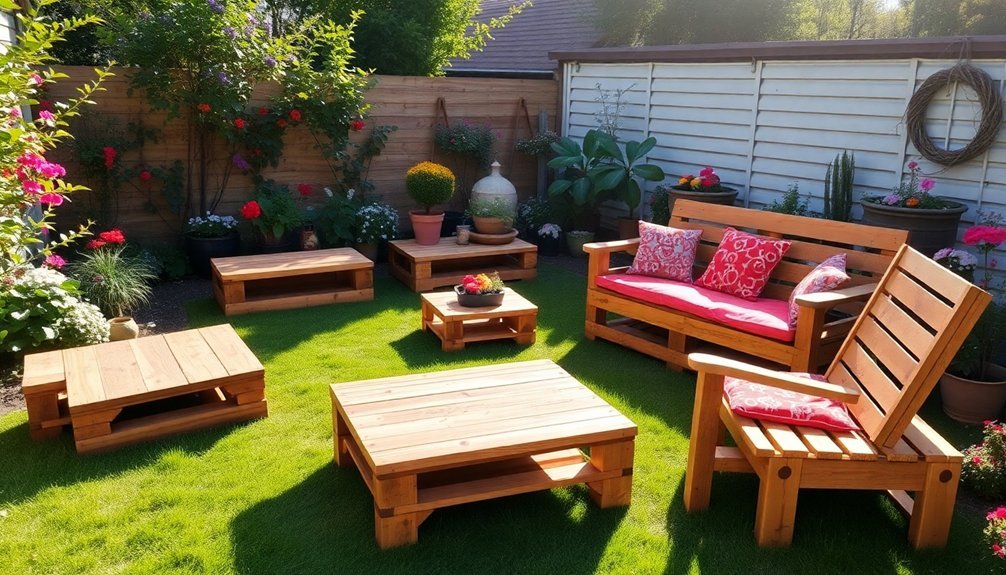
Pallet wood furniture offers a unique blend of sustainability and style, making it an ideal choice for any DIY enthusiast.
You can transform discarded pallets into stunning pieces like coffee tables, benches, or bookshelves without breaking the bank. These pallet projects aren’t only cost-effective but also environmentally friendly, as pallets are often available for free or at a low cost.
Just remember, proper wood treatment is essential to avoid splinters and guarantee durability. Sanding the surfaces and applying a protective finish will elevate your creations.
Plus, with a splash of paint or some cozy cushions, you can make your pallet furniture truly shine, perfect for both indoor and outdoor settings.
Embrace your creativity and start building!
17. Upcycled Furniture Makeover
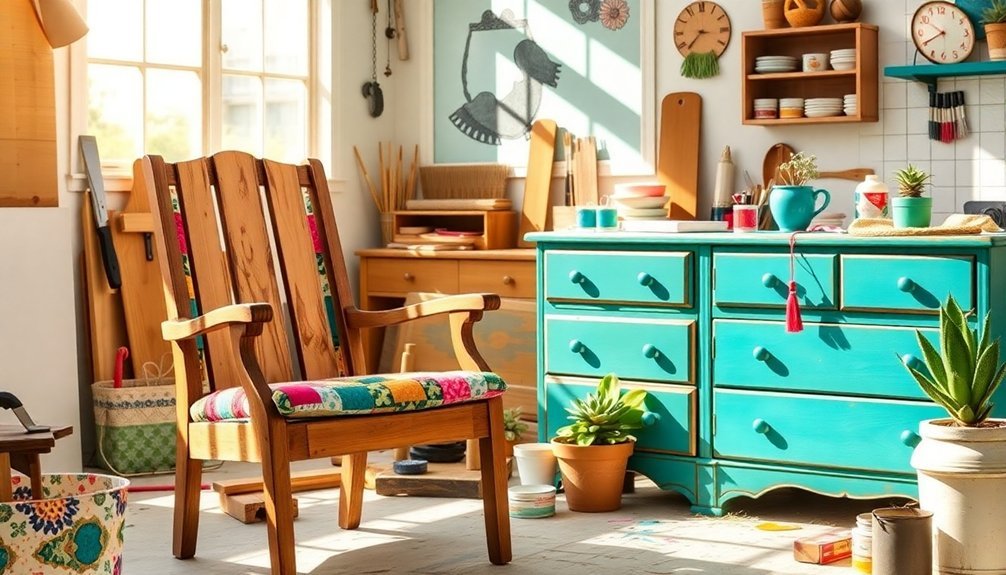
While many people rush to buy new furniture, upcycling offers a smarter, more creative alternative that breathes new life into old pieces.
Not only does it reduce waste, but it also saves you money. With simple furniture restoration techniques, you can transform outdated items into stunning focal points in your home.
Consider these vintage style upgrades:
- Apply a fresh coat of paint or stain for a dramatic change.
- Swap out old knobs and handles for a modern touch.
- Reupholster worn chairs or sofas with trendy fabrics.
- Use decoupage or stenciling to create unique designs.
Embrace your creativity and let your personality shine through your upcycled furniture!
18. DIY Gift Wrap From Recycled Paper
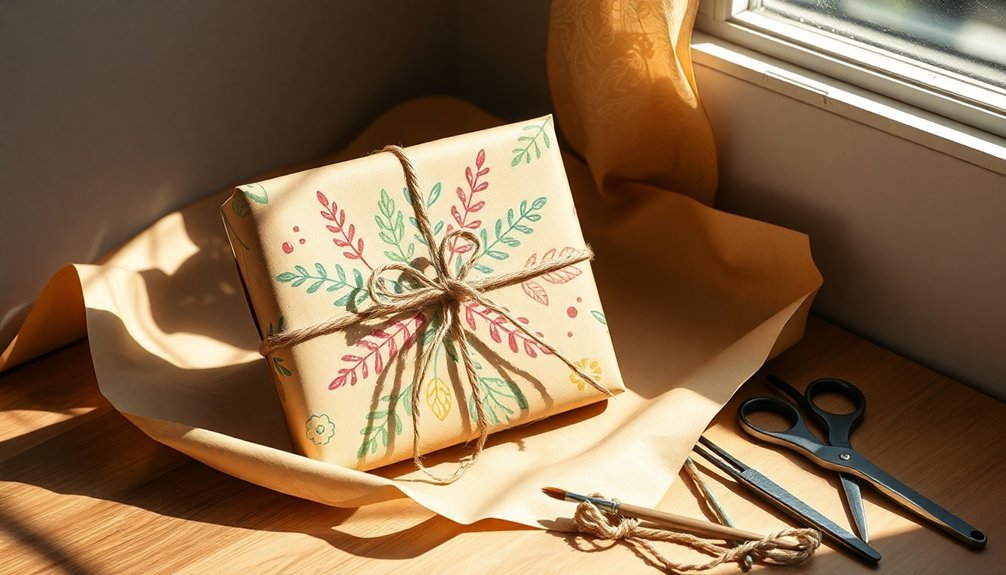
Transforming your space with upcycled furniture is just the beginning of your creative journey.
Why not extend that creativity to your gift-giving? Using recycled paper like old newspapers or magazine pages, you can explore innovative, creative wrapping techniques.
Personalize your wraps with colorful markers, stamps, or paint for a unique touch. Layering recycled tissue paper or old maps adds elegance and texture.
Old calendar pages offer beautiful images that fit any occasion, making them perfect sustainable gift options.
Consider repurposing fabric scraps or old clothing for a charming, eco-friendly wrap.
Enhance your presentation with natural elements like dried flowers or jute twine, creating a rustic aesthetic that makes your gifts truly stand out!
19. Natural Dyeing With Kitchen Scraps
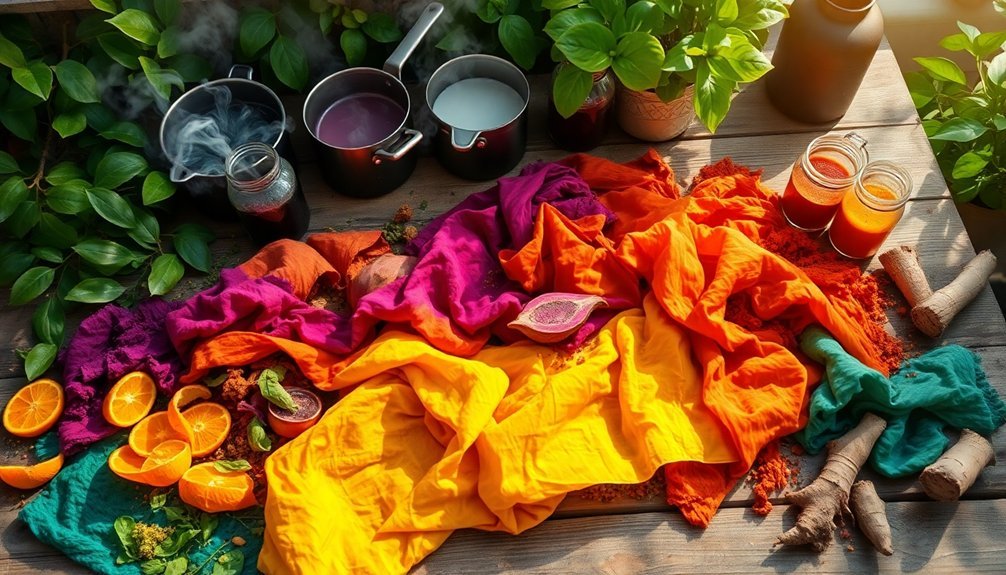
Have you ever thought about turning your kitchen scraps into beautiful, vibrant dyes?
Natural dyeing techniques can transform everyday waste into stunning colors, enriching your fabric projects while promoting sustainability. By sourcing items like onion skins, avocado pits, and beet tops, you can create unique shades without synthetic chemicals.
Here’s how to get started:
- Simmer scraps in for 30-60 minutes.
- Strain the liquid for your dye bath.
- Experiment with mordants like vinegar or salt for enhanced colors.
- Use cotton, silk, or wool for different effects.
Embrace this creative process, and not only will you breathe new life into your textiles, but you’ll also contribute to a greener planet by minimizing waste.
Immerse yourself in natural dyeing today!
20. Handmade Greeting Cards From Recycled Materials
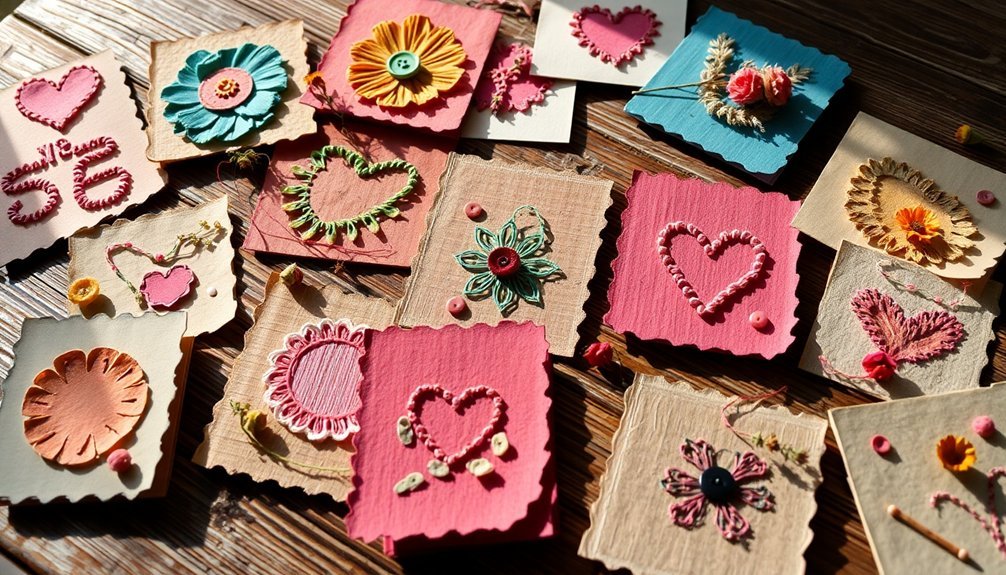
Crafting handmade greeting cards from recycled materials not only sparks creativity but also champions sustainability. You can breathe new life into old magazines, newspapers, or scrap paper, using them to create unique backgrounds that add texture and color while reducing waste.
Repurpose used gift wrap or cardstock as your card base for sturdy, visually appealing designs. Incorporate natural elements like dried flowers, leaves, or twigs for a touch of nature. Leftover fabric pieces from old clothing make fantastic eco-friendly embellishments, adding a personal touch.
To personalize your cards further, experiment with stamps, stencils, or hand-drawn designs using recycled ink or paints. Embrace this creative journey, and let your cards reflect your commitment to sustainability!
Conclusion
You won’t believe this: nearly 80% of what we throw away can be repurposed into something beautiful and useful. By embracing these DIY craft hacks, you’re not just getting creative; you’re also contributing to a more sustainable future. So grab those old bottles, unused T-shirts, and scrap paper—let your imagination run wild! Each project you tackle not only enhances your space but also inspires others to see the potential in what’s often overlooked. Start crafting today!