Want to transform your home into a sparkling sanctuary? Use rubber gloves to effortlessly lift pet hair from surfaces, steam-clean your microwave with lemon , and tackle wine stains right away with club soda. Don’t forget to vacuum cabinets for a thorough clean and use your dishwasher for light fixtures. Organizing your cleaning supplies and scheduling regular sessions can save you time. Keep these clever tips in mind, and discover even more hacks that make a difference!
1. Remove Pet Hair With Rubber Gloves
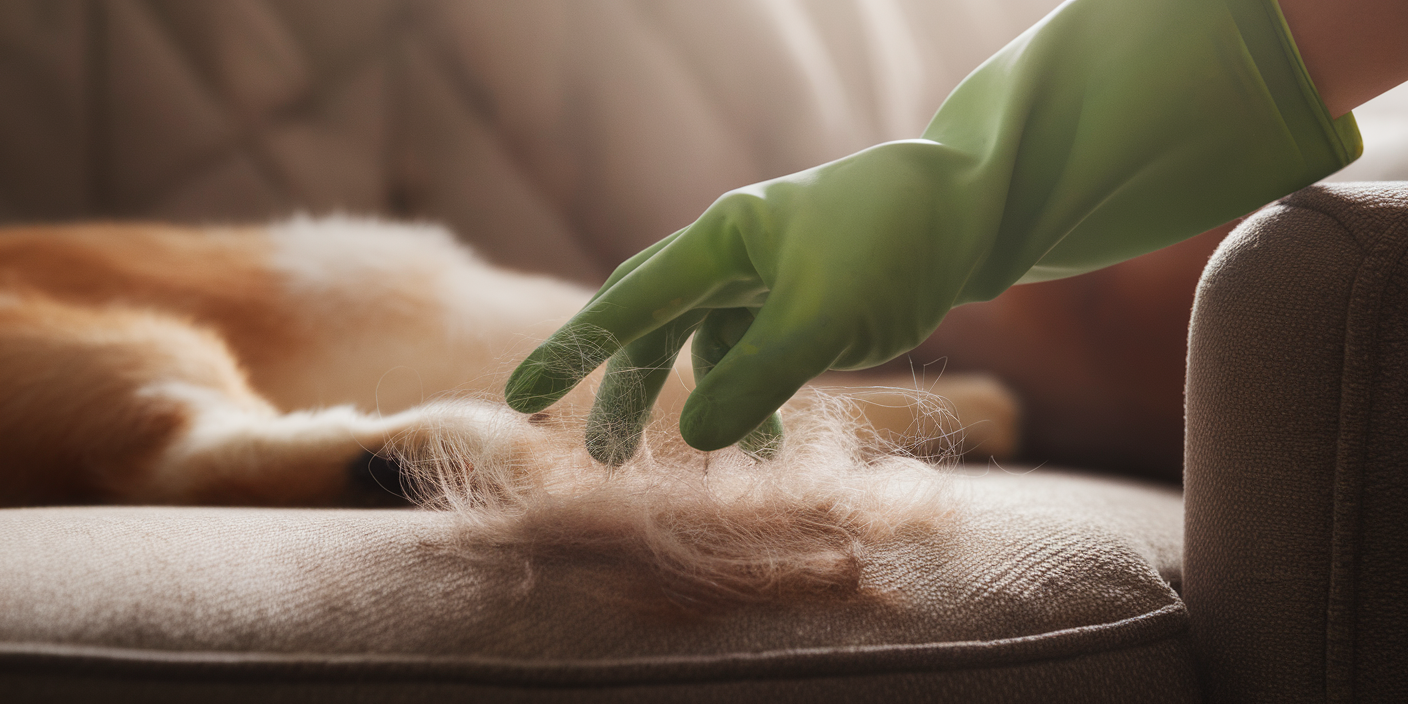
If you’re tired of battling pet hair on your furniture, using rubber gloves can be a game-changer.
Just slip on those gloves and run your hands over surfaces; the static electricity they create helps lift and clump the fur together, making it easy to remove pet hair from upholstery, carpets, and even clothing.
For an added boost, slightly dampen the gloves with to enhance the static effect, allowing you to gather more hair quickly.
Once you’ve collected the fur, simply roll it into a ball and toss it away.
This eco-friendly method not only saves you from sticky lint rollers and harsh chemicals, but also makes cleanup a breeze, leaving your home looking and feeling fresh!
2. Steam-Clean Your Microwave
After tackling pet hair with those handy rubber gloves, it’s time to turn your attention to another often-overlooked appliance: the microwave.
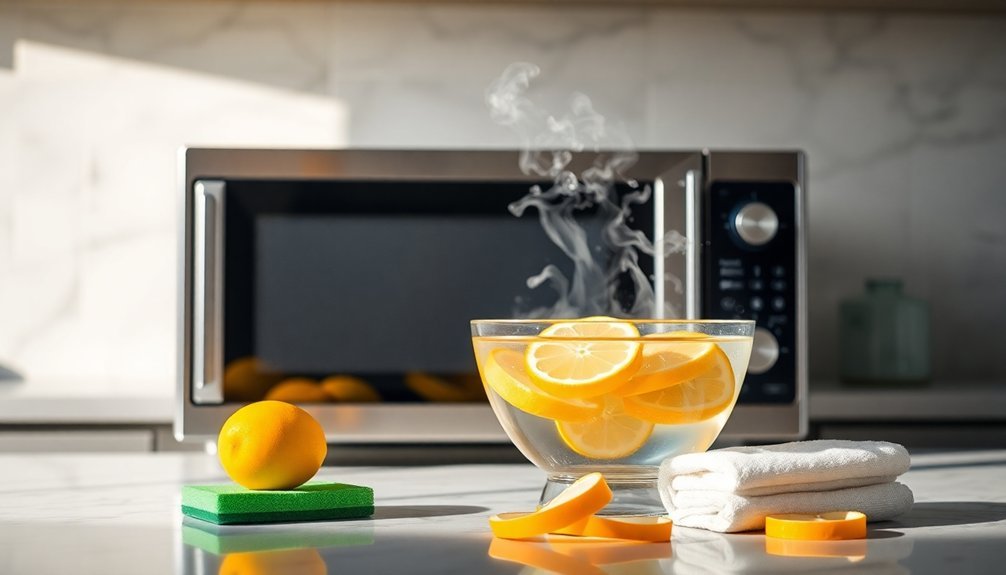
To steam-clean your microwave, grab a microwave-safe bowl and fill it with one cup of . Add some lemon slices for a fresh scent. Heat it on high for about three minutes until it boils, creating steam that loosens stubborn food splatters.
Afterward, let it sit for another five minutes to penetrate the grime. Carefully remove the bowl—it’s hot!
Now, grab a damp cloth or sponge and wipe down the interior surfaces. For extra cleaning power, toss in a tablespoon of vinegar with the .
You’ll be amazed at how effortlessly your microwave sparkles!
3. Remove Wine Stains From Carpet
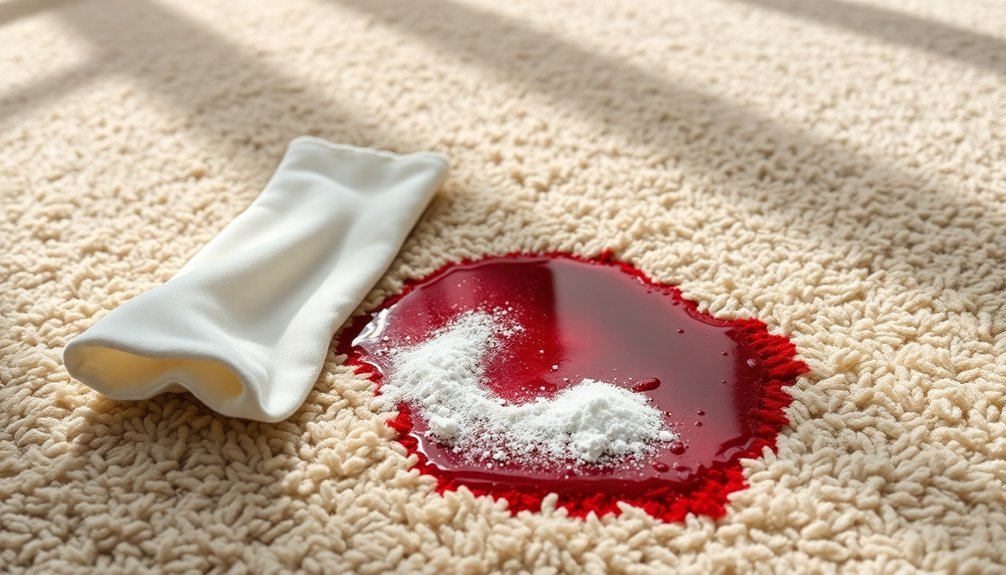
Accidents happen, and a spilled glass of wine on your carpet can feel intimidating.
Don’t worry—using club soda and the right blotting technique can make all the difference.
Let’s explore how to tackle those pesky stains and keep your carpet looking great for the future!
Effective Club Soda Technique
When a glass of red wine tips over and spills on your carpet, don’t panic—there’s a simple solution at hand. Grab a bottle of club soda!
Immediately spritz the stained area with this bubbly beverage; its carbonation works wonders in neutralizing those pesky wine pigments. As you do this, gently blot the stain with a microfiber cloth, starting from the outside and working your way in.
This technique prevents the stain from spreading further. You might need to repeat the process a few times until the stain disappears completely.
Finally, rinse the area with cold to guarantee all residue is gone. Tackle that wine stain promptly, and you’ll keep your carpet looking fresh and clean!
Blotting for Best Results
Though a wine spill can feel like a disaster, the key to saving your carpet lies in quick action and effective blotting. Start by grabbing a clean cloth or paper towel and gently blot the stain to absorb as much liquid as possible—don’t rub, as that can spread the stain.
Next, spritz the area with club soda; the carbonation helps lift the wine. Keep blotting until the stain fades. For stubborn stains, mix mild dish soap with , applying it with a microfiber cloth, working from the outside in.
Rinse with cold , and blot again to remove any soap residue. If needed, a vinegar and solution can neutralize the color—just keep blotting until your carpet sparkles again!
Preventing Future Stains
To keep your carpet looking pristine and free from wine stains, it’s essential to take proactive measures.
Start by having a cleaning solution on hand, like club soda, which can lift stains quickly. If a spill happens, spritz the area immediately, then gently blot with a microfiber cloth to prevent spreading.
Should the stain linger, mix equal parts white vinegar and as an effective cleaning solution. Remember to test any new cleaning solution on an inconspicuous area first to avoid .
Quick action is key; the sooner you treat a wine stain, the easier it’s to remove. By being prepared and acting fast, you can maintain your carpet’s beauty and prevent future stains from setting in.
4. Clean Cabinets With a Vacuum
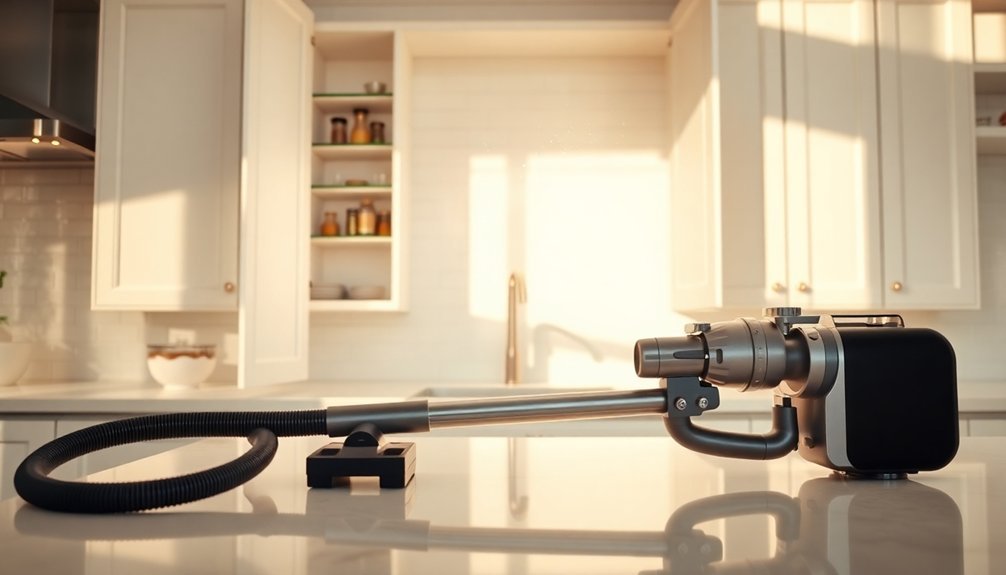
While you mightn’t think about it often, cleaning your cabinets can make a significant difference in your kitchen’s overall appearance and hygiene.
To clean cabinets with a vacuum, start by emptying them of all items. This gives you full access to surfaces for a thorough clean.
Use your vacuum’s brush attachment to swiftly remove dust and crumbs from shelves and corners. This not only speeds up the process but also helps prevent dirt and pests from accumulating.
After vacuuming, wipe down hardware like handles and knobs with a damp cloth to tackle any leftover residue.
5. Use Your Dishwasher to Clean Light Fixtures

You can give your light fixtures a sparkling clean by using your dishwasher, but first, make sure each part is dishwasher-safe.
Start by removing the bulbs and glass shades; this keeps them safe from potential .
Once everything’s ready, load the pieces on the top rack and choose a gentle cycle for a thorough yet gentle clean.
Check Dishwasher Safety First
Have you ever considered using your dishwasher for more than just dishes? Before you jump in, it’s essential to check if your light fixtures are dishwasher-safe.
Take a moment to read the manufacturer’s instructions—this step can save you from potential . Be sure to remove any non-dishwasher-safe parts, like bulbs or decorative elements, before loading them up.
For a thorough clean, opt for a gentle cycle to minimize scratching. When arranging your light fixture pieces, secure them well to prevent movement during the wash.
After your dishwasher has worked its magic, allow the fixtures to dry completely. This guarantees safety and prevents moisture-related issues when you reinstall them.
Your sparkling home awaits!
Remove Light Fixture Parts
Cleaning your light fixtures can transform the ambiance of your home, and using your dishwasher makes this task even easier. Start by removing all bulbs and electrical components to guarantee safety.
Before you load the fixture parts, check that they’re labeled as dishwasher-safe. A gentle cycle with mild dish soap will help remove stains without scratching the surfaces.
After washing, let the parts dry completely to prevent spots or mold growth. Regularly cleaning these components not only enhances their brightness but also prolongs their lifespan by preventing buildup and corrosion.
- Check for dishwasher-safe labels
- Remove all bulbs
- Use mild dish soap
- Opt for a gentle cycle
- Allow complete drying before reassembly
Run Cleaning Cycle Efficiently
While many may overlook the convenience of using a dishwasher for light fixtures, this method can save time and effort while ensuring a thorough clean.
First, check the manufacturer guidelines to confirm your fixtures are dishwasher-safe. Remove light bulbs and dust off any debris before loading them into the dishwasher.
Use a gentle cycle with a low-heat setting to protect delicate materials. To prevent your fixtures from bouncing around during the wash, consider placing them in a mesh bag or wrapping them in a dish towel.
After the cycle, let your fixtures air dry completely before reattaching them to avoid moisture .
These cleaning tips can refresh your fixtures and make your home sparkle effortlessly!
6. Correct Common Cleaning Mistakes
Although many people think they’re doing a great job at keeping their homes clean, a few common mistakes can undermine their efforts.
You can enhance your cleaning routine by avoiding these pitfalls:
- Inspect and clean your cleaning supplies regularly to prevent spreading allergens.
- Use the right cleaning product for each surface; check labels to avoid .
- Stick to a cleaning schedule to prevent dirt and grime buildup.
- Allow cleaning solutions enough dwell time for maximum effectiveness.
- Dust high surfaces before vacuuming to avoid resettling dust on your clean floors.
7. Use a Pillowcase to Clean a Ceiling Fan
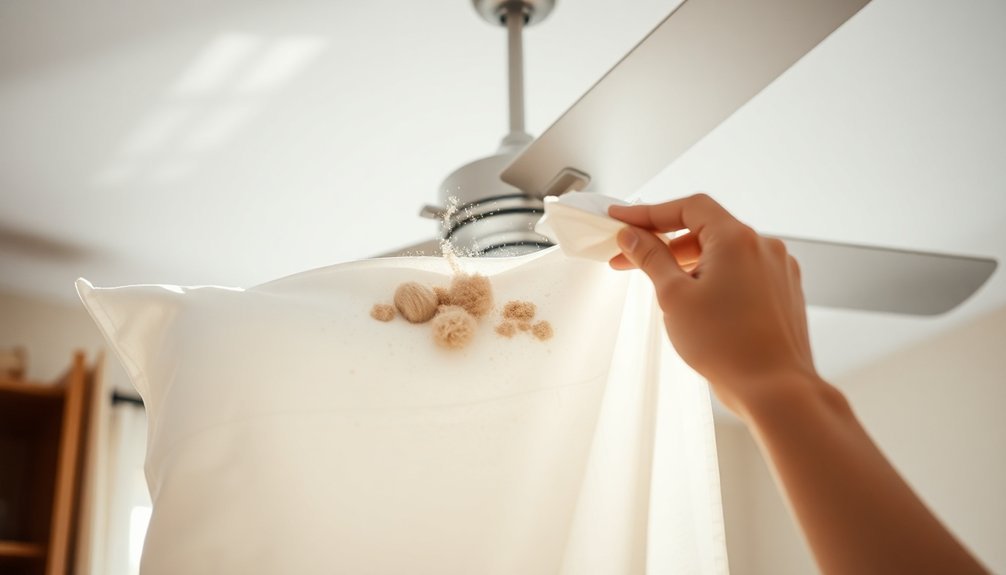
Cleaning your ceiling fan doesn’t have to be a messy chore.
By slipping a pillowcase over each blade, you can efficiently trap dust and keep it from settling on your furniture.
This simple trick not only protects your surfaces but also makes your cleaning routine quicker and more effective.
Efficient Dust Capture Method
When you’re looking to tackle the dust on your ceiling fan, using an old pillowcase can be a game changer. This efficient dust capture method guarantees that dust doesn’t fall onto surfaces below.
By lightly spraying the inside of the pillowcase with a gentle cleaner or a -vinegar mix, your dusting becomes even more effective. Here’s why you should try it:
- Soft fabric prevents scratches on blades
- Reduces airborne dust particles
- Improves overall air quality
- Helps prevent allergies and respiratory issues
- Makes cleaning a breeze!
Regularly using this technique keeps your ceiling fan clean and promotes a healthier home environment.
Embrace this simple hack and enjoy a sparkling, dust-free ceiling fan in no time!
Protect Surfaces While Cleaning
One simple way to protect your surfaces while cleaning is by using a pillowcase to tackle dust on your ceiling fan.
This clever hack traps dust and debris effectively, preventing them from falling onto your furniture or floor. Just lightly spray the inside of the pillowcase with a gentle cleaner to enhance dust removal without scratching the blades.
The soft fabric is gentle on surfaces, preserving the finish of your fan while making the job easier. Plus, regularly using this method can improve air quality by reducing allergens that accumulate in dust.
8. Clean With What You Have
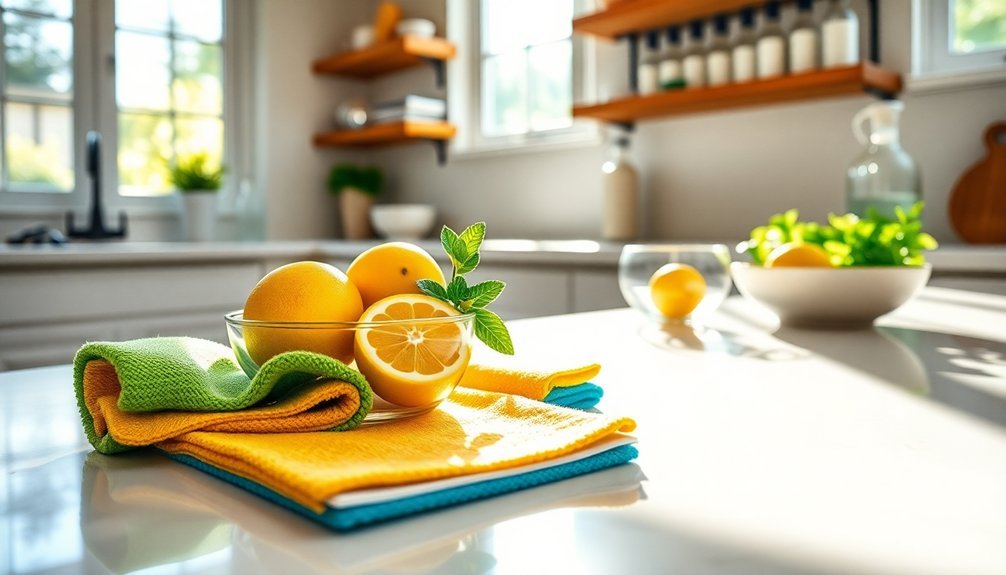
Instead of reaching for expensive commercial cleaners, consider the power of everyday household items that can transform your cleaning routine.
You can clean with what you have and achieve amazing results without breaking the bank. Here’s how:
- Vinegar: Use it to deodorize and disinfect surfaces.
- Baking soda: Tackle tough stains and freshen up carpets.
- Lemon juice: Cut through grease on microwaves and faucets.
- Old socks: Repurpose them for effective dusting on blinds and baseboards.
- Coffee filters: Clean screens and delicate surfaces without scratching.
9. Use Socks to Clean Blinds

Cleaning your blinds doesn’t have to be a tedious chore filled with dust and frustration. Grab an old sock, slip it on your hand, and spritz it lightly with .
This damp surface captures dust effectively, while the sock’s texture conforms to each blind slat for thorough cleaning. You won’t need any additional tools, making this method both eco-friendly and cost-effective.
Plus, it minimizes mess since the dust gets trapped inside the sock instead of scattering onto the floor. By regularly using this technique, you’ll maintain a dust-free environment and even improve your home’s air quality.
10. Learn the Trick to Cleaning Faster

Want to clean faster? Start by scheduling regular cleanings and using efficient tools that simplify your tasks.
Decluttering before you begin can also make a world of difference, helping you tackle messes with ease and speed.
Schedule Regular Cleanings
Establishing a regular cleaning schedule can transform your home maintenance routine and save you valuable time.
By breaking tasks into manageable sections, you’ll tackle dirt and grime before they accumulate. Consistency is key; it keeps your home tidy and guarantees future cleanings are quicker.
Prioritize high-use areas, like kitchens and bathrooms, to maintain a sanitary environment. Here are some tips to get started:
- Set specific days for each cleaning task
- Use reminders to stay on track
- Dedicate short time slots for daily upkeep
- Keep cleaning supplies in easy-to-access locations
- Reward yourself after completing tasks
Use Efficient Tools
When it comes to keeping your home spotless, using the right tools can make all the difference. For efficient cleaning, grab a high-nap paint roller to tackle textured ceilings without needing a ladder.
A vacuum with attachments helps you dust those hard-to-reach corners effortlessly, saving you from moving heavy furniture. Don’t forget your squeegee; it’s perfect for quickly gathering pet hair from upholstery, making cleanup a breeze.
Incorporating dryer sheets for dusting baseboards not only attracts dust but leaves a fresh scent, too.
Finally, maintain a cleaning schedule to guarantee consistency and prevent dirt buildup, turning deep cleaning into a quick task.
With these efficient tools, you’ll transform your cleaning routine and sparkle your home in no time!
Declutter Before Cleaning
Decluttering before you plunge into cleaning can cut your cleaning time in half, making the task feel far less intimidating.
By clearing surfaces of unnecessary items, you not only streamline your cleaning process but also prevent dust from settling.
Try dedicating just 10-15 minutes to declutter; you’ll be amazed at the difference it makes!
- Use storage bins to categorize items.
- Create a daily decluttering habit.
- Focus on one room at a time.
- Set aside items to donate or discard.
- Keep frequently used items accessible.
Embrace these decluttering tips, and you’ll find cleaning becomes a breeze.
Keeping things organized will make your home sparkle and let you enjoy a tidy space without the stress!
11. Use a Paint Roller to Clean Ceilings
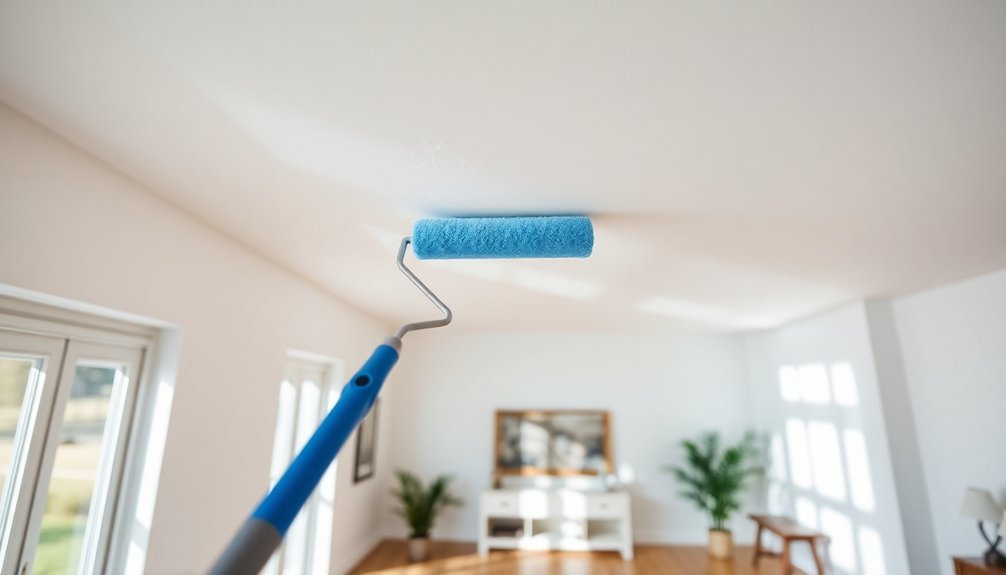
Cleaning your ceilings mightn’t be the most exciting chore, but using a paint roller can transform it into a quick and efficient task. A high-nap paint roller is perfect for tackling textured ceilings, easily picking up dust, cobwebs, and dirt without the hassle of ladders.
Just dampen the roller with or a mild cleaning solution to enhance its cleaning power while protecting your ceiling. Roll it systematically across the surface to guarantee every corner is covered, reducing the time spent dusting.
Plus, regular ceiling cleaning with this method boosts your indoor air quality by minimizing allergens and dust. So grab that paint roller, and get ready to make your ceilings sparkle while you enjoy a cleaner, healthier home!
12. Spot-Clean Fabrics With Baby Wipes

When spills happen, you don’t have to panic—baby wipes are your best friend for quick stain removal.
They’re gentle on fabrics, so you can tackle those unexpected messes without worrying about .
Keep a pack handy around the house, and you’ll be ready to face any stain that comes your way!
Quick Stain Removal Tips
Stains can feel like a huge hassle, but with a simple solution at your fingertips, you can tackle them in no time.
Baby wipes are your best friend for quick clean-ups, effectively lifting stains without damaging your fabrics. Just remember to act fast!
Here are some quick tips to get you started:
- Blot, don’t rub, to avoid spreading the stain.
- Target common culprits like food spills, ink marks, and dirt.
- Always test on a small area first to avoid surprises.
- Keep a pack handy in your living area or car for emergencies.
- Use wipes with mild cleansers for the best results.
With these tips, you’ll keep your home looking pristine without the stress!
Gentle on Fabrics
Spot-cleaning your fabrics doesn’t have to be an intimidating task. In fact, baby wipes are your new best friend for tackling those pesky stains.
Designed to be gentle on the skin, these wipes effectively lift stains from various fabrics without causing or discoloration. Whether you’re dealing with upholstery, curtains, or your car’s interior, baby wipes make quick touch-ups a breeze.
Plus, regular use can help prevent dirt build-up, keeping everything looking fresh between deep cleans. Just remember to test the baby wipes on an inconspicuous area first to guarantee compatibility.
With a little initiative, you can maintain a sparkling clean home effortlessly! So grab those baby wipes and get started today!
13. Use Tennis Balls to Launder Comforters
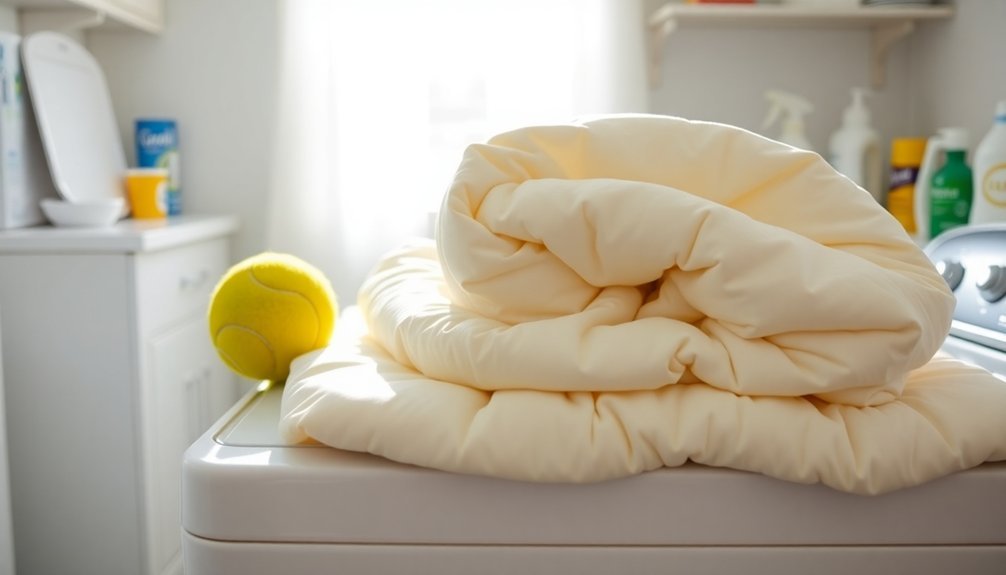
Laundering comforters can feel like an intimidating task, but using tennis balls makes it surprisingly easy and effective. By tossing in two to three clean tennis balls with your comforter, you’ll enhance the drying process and maintain fluffiness.
Here’s how it works:
- Prevents clumping: Tennis balls keep the filling from sticking together.
- Gentle agitation: The rubber creates movement, redistributing the filling evenly.
- Great for all types: This method works wonders for both down and synthetic-filled comforters.
- Saves energy: More air circulation speeds up drying time.
- Cleans easily: Just make sure your tennis balls are dirt-free.
14. Clean Window Treatments Faster

Cleaning your window treatments doesn’t have to be a chore.
Start by giving your curtains a good shake to dislodge dust, then grab your vacuum with a brush attachment for a thorough clean from top to bottom.
Finish off with a damp cloth on hard surfaces to keep everything looking fresh and enhance your indoor air quality!
Shake and Vacuum Method
When it comes to keeping your window treatments looking fresh, the Shake and Vacuum Method is a game changer. Start by shaking your window treatments outside to release dust and debris. Then, use a vacuum with a brush attachment, cleaning from top to bottom for effective dust removal without damaging the fabric.
Here are some additional tips to enhance your cleaning routine:
- Spot-clean any stains with a mild detergent solution.
- Don’t forget to check windowsills and frames for lingering dust.
- Consider doing this every season to maintain freshness.
- Use this method on various fabrics for versatility.
- Regular cleaning can extend the lifespan of your treatments.
With this simple approach, you’ll keep your home looking tidy and inviting!
Damp Cloth Technique
After revitalizing your window treatments with the Shake and Vacuum Method, the Damp Cloth Technique offers a quick and efficient way to keep them spotless.
Grab a damp cloth—preferably a microfiber one—and start wiping each panel from top to bottom. This method captures accumulated dust effectively, leaving your treatments looking fresh.
If you encounter stubborn stains, just lightly spritz your damp cloth with a mild cleaning solution or a mix of and vinegar before tackling those spots.
Once you’re done, let them air dry completely to avoid mold or mildew, especially in humid conditions.
Regularly cleaning your window treatments every few months not only enhances their appearance but also improves your indoor air quality.
You’ve got this!
15. Have Your Kids Clean Your Mattress

Getting your kids involved in cleaning the mattress can transform a mundane chore into a fun family activity that teaches responsibility.
By making it enjoyable, you’ll instill good habits in them. Here’s how to get started:
- Have them strip the bedding and help vacuum the mattress surface.
- Let them sprinkle baking soda to absorb odors, which you can vacuum off later.
- Teach them to spot-clean stains with mild soap and .
- Explain the importance of mattress maintenance for better sleep hygiene.
- Reward their efforts with a small treat or extra playtime.
This hands-on experience not only keeps your mattress fresh but also helps them learn valuable cleaning skills, just like when you clean your bathroom!
16. Use Lemon Oil and Vinegar for Shine

If you’re looking to bring a natural shine to your home without the harsh chemicals, lemon oil and vinegar are your secret weapons.
This powerful duo cuts through grease and grime effortlessly. The vinegar’s acidity dissolves mineral deposits and soap scum, while lemon oil adds a revitalizing scent and enhances shine.
To create this effective cleaning solution, simply mix equal parts of lemon oil and vinegar in a spray bottle for easy application. Not only does this combination clean, but it also leaves a protective layer that repels dirt and dust.
Plus, using lemon oil and vinegar is an eco-friendly choice, making it safe for your family—kids and pets included. Embrace this natural approach and watch your home sparkle!
17. Must-Know Dusting Tricks
Dusting doesn’t have to be a tedious chore; with the right techniques and tools, you can make it quick and effective.
You’ll discover clever hacks that transform everyday items into powerful dusting allies, ensuring your home stays fresh without the hassle.
Let’s explore some must-know tricks that will elevate your cleaning game!
Effective Dusting Techniques
How can you transform your dusting routine into a breeze? By adopting effective cleaning techniques, you’ll not only save time but also achieve a cleaner home.
Here are some must-know tips to elevate your dusting game:
- Use a damp microfiber cloth to trap dust instead of spreading it around.
- Employ a vacuum cleaner with a brush attachment for hard-to-reach areas.
- Utilize a paint roller to collect dust from textured surfaces effortlessly.
- Slip an old sock over your hand to clean blinds without a mess.
- Regularly clean your air vents and change HVAC filters to cut down on dust.
With these strategies, you’ll notice a significant difference in your home’s cleanliness and air quality.
Happy dusting!
Essential Dusting Tools
When it comes to keeping your home dust-free, having the right tools makes all the difference.
Start with a microfiber cloth; its ability to trap dust without scratching surfaces makes it perfect for electronics and delicate furniture.
Next, invest in an extendable duster to easily reach high places like ceiling fans and light fixtures.
Don’t forget an old pillowcase—using it slightly damp on fan blades captures dust without making a mess.
An old sock can also serve as a handy dusting tool, fitting into tight spots effortlessly.
Finally, a vacuum equipped with brush attachments is essential for removing dust from baseboards and blinds, reducing allergens and creating a cleaner home environment.
Get equipped and enjoy a sparkling space!
Quick Dusting Solutions
With the right tools in hand, quick dusting solutions can transform your cleaning routine into a breeze. Instead of dreading the dust, try these effective methods to keep your home sparkling:
- Use an old sock dampened with vinegar and to dust blinds without the mess.
- Grab a microfiber cloth; it traps dust and allergens better than traditional dusters.
- Attach a dry cloth to a Swiffer mop for effortless wall and trim dusting.
- Slip a pillowcase over ceiling fan blades, spray with cleaner, and wipe to catch falling dust.
- Regularly use dryer sheets on baseboards to attract dust and leave a fresh scent.
With these quick dusting solutions, you’ll enjoy a cleaner home in no time!
18. Clean Your Dishwasher With Baking Soda and Vinegar
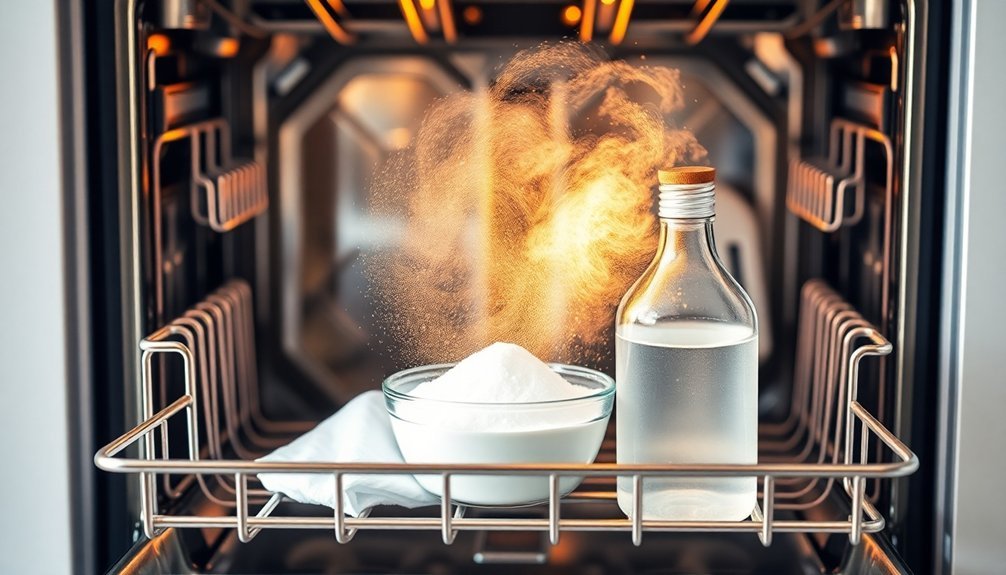
If you want your dishwasher to run smoothly and keep your dishes sparkling clean, using baking soda and vinegar is a game changer.
Start by removing any debris from the drain, then place a cup of vinegar in a dishwasher-safe container on the top rack. Run your dishwasher on the hottest cycle—this allows the vinegar to break down grease and grime while deodorizing the interior.
After that, sprinkle one cup of baking soda across the bottom and run a short hot- cycle to eliminate lingering odors and stains.
This powerful combination not only cleans but also sanitizes your dishwasher, maintaining its efficiency and prolonging its lifespan.
Make this a monthly ritual, and your dishwasher will thank you!
19. Remove Hard Stains
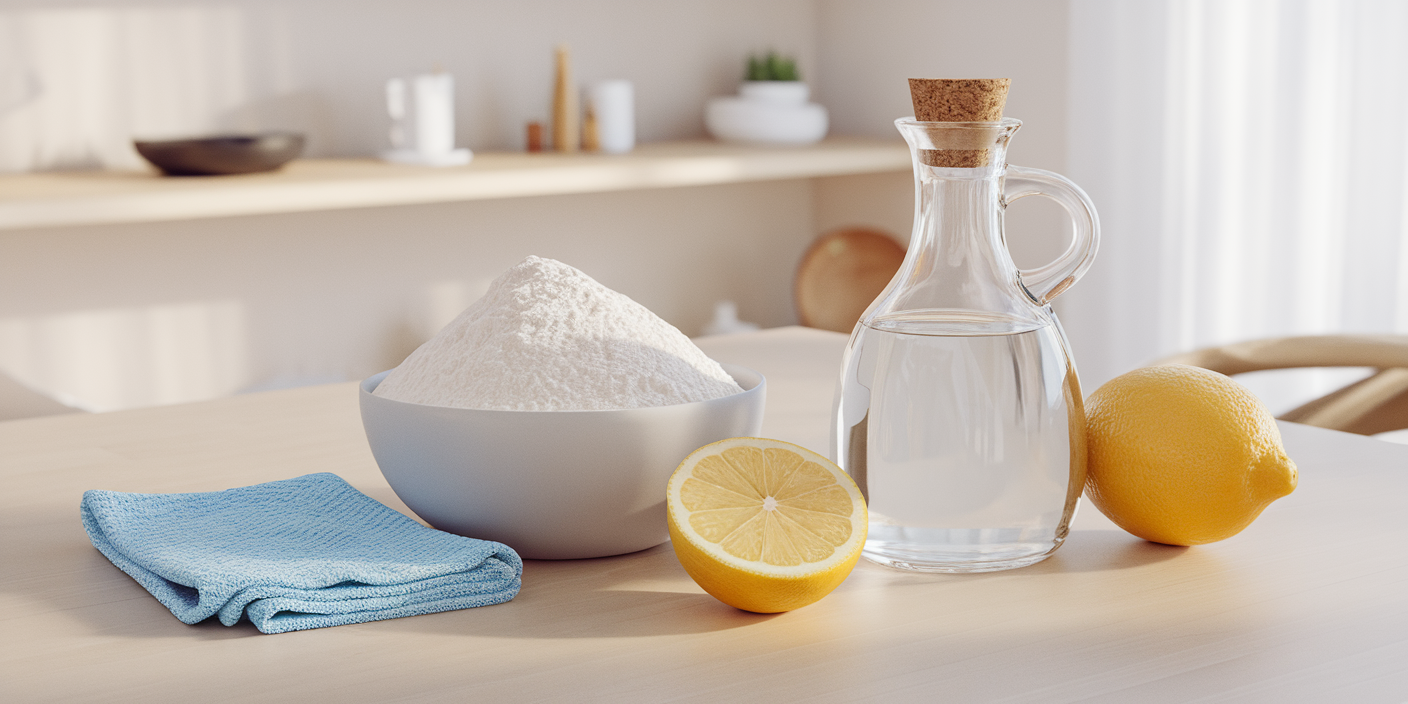
After ensuring your dishwasher sparkles, it’s time to tackle another common household issue: hard stains.
These pesky marks are caused by mineral deposits that can dull your surfaces over time.
Don’t worry; you can easily remove hard stains with a few simple methods:
- Mix equal parts vinegar and , let it sit for 10-15 minutes, and scrub with a non-abrasive sponge.
- Create a paste of baking soda and for tougher stains.
- Rub a halved lemon on the stains to utilize its natural citric acid.
- Maintain your fixtures by wiping them down after use.
- Use a squeegee or microfiber cloth regularly.
With these tips, you’ll keep your home looking fresh and vibrant!
20. Clean Faster With These Products
When you want to cut down on cleaning time while still achieving impressive results, using the right products can make all the difference.
Start with microfiber cloths; they trap dust and dirt without leaving streaks, perfect for surfaces like your desk when you clean your computer. A simple vinegar solution can cut through grime, leaving glass surfaces shining.
For kitchens, a mix of dish soap and tackles tough grease quickly. Don’t forget baking soda—it neutralizes odors and acts as a gentle scrubber.
Finally, activate the power of activated charcoal to freshen the air in your home.
21. Must-Try Homemade Cleaners
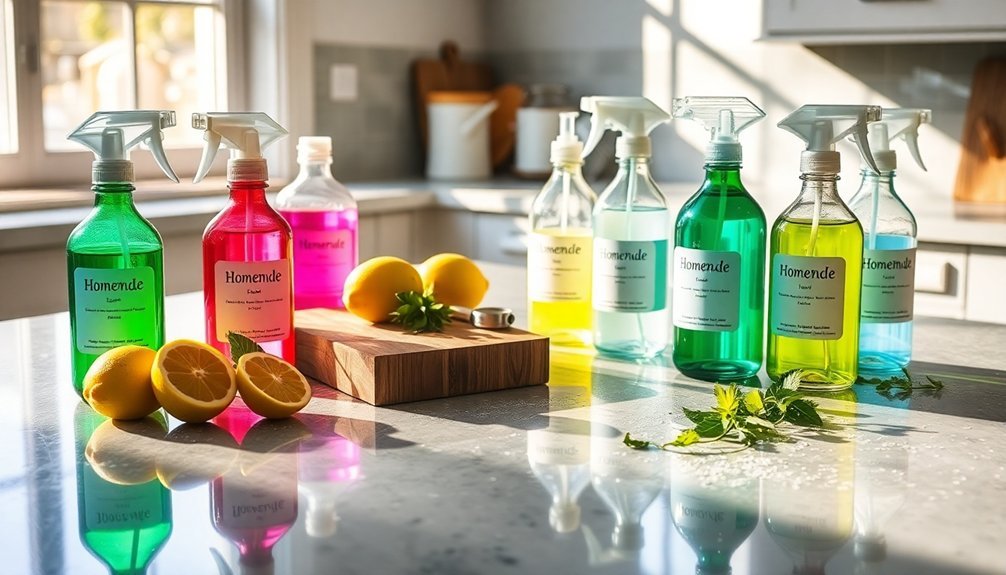
While store-bought cleaners can be convenient, embracing homemade alternatives not only empowers you to control the ingredients but also offers a cost-effective solution for a sparkling home.
By using everyday items, you can create powerful homemade cleaners that are safe and effective. Here are some must-try options:
- Vinegar and Solution: Mix equal parts for an all-purpose cleaner.
- Baking Soda Paste: Tackle tough stains with a baking soda and mix.
- Lemon Juice Cleaner: Combine lemon juice with baking soda for a natural abrasive.
- Essential Oil Infusion: Add essential oils for extra antibacterial properties.
- Coconut Oil Furniture Polish: Mix coconut oil and vinegar for a natural shine.
These homemade cleaners will keep your home fresh and sparkling!
22. Secret Weapons for Cleaning Hacks
Homemade cleaners are just the beginning of your cleaning arsenal; there are countless clever hacks that can make your chores easier and more efficient.
Grab your rubber gloves to effortlessly remove pet hair from furniture—just rub and watch the fur clump together!
For tough food debris, microwave a bowl of and lemon juice; the steam softens grime while leaving a fresh scent.
Want to combat odors? Combine baking soda and vinegar in your garbage disposal for a fizzing, effective solution.
Olive oil works wonders as a natural polish for stainless steel, restoring its shine with a microfiber cloth.
Finally, use pillowcases to clean ceiling fan blades, trapping dust and keeping your surfaces spotless.
Try these cleaning hacks today!
23. How to Clean Your Cleaning Tools and Appliances
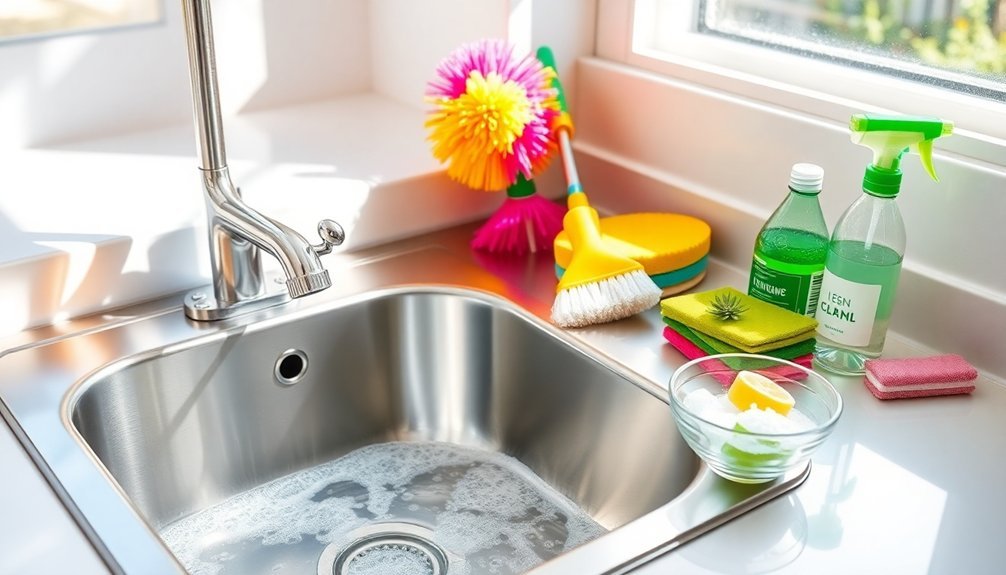
Keeping your cleaning tools and appliances in top shape is essential for maintaining a spotless home. Regular maintenance not only improves their performance but also extends their lifespan.
Here are some effective tips to guarantee your tools are always ready to shine:
- Clean your vacuum cleaner: Check and replace filters, empty dust containers, and clean brush rolls.
- Freshen your dishwasher: Wipe the exterior and run a hot cycle with baking soda and vinegar.
- Treat your range hood filters: Soak in hot, soapy , scrub gently, rinse, and dry.
- Revitalize your microwave: Use a vinegar- mix to clean inside, followed by a damp cloth.
- Wash your cleaning cloths: Disinfect in hot or diluted bleach solution and replace sponges regularly.
With these simple steps, you’ll enhance your cleaning game!
24. Clean Your Blinds With a Sock

After ensuring your cleaning tools are in top shape, it’s time to tackle another often-overlooked area: your blinds.
One of the best cleaning hacks involves using an old sock! Slip it on your hand and spritz it lightly with a mixture of and vinegar. This method captures dust and grime without making a mess. The soft fabric prevents scratches while hugging each slat for thorough cleaning.
Use a separate sock for each side to avoid transferring dirt. For stubborn stains, add a dab of dish soap for extra power.
Regularly cleaning your blinds this way not only keeps them fresh but also enhances your indoor air quality by reducing dust.
Get started—you’ll love the results!
25. Wash Your Bedding and Mattress

Keeping your bedding and mattress fresh is essential for a good night’s sleep.
You’ll not only eliminate allergens but also create a more inviting space to rest after a long day.
Let’s explore effective washing techniques, deep cleaning tips, and proper drying methods to guarantee your sleep sanctuary stays spotless.
Washing Techniques for Bedding
Your bedding is a haven for comfort, but it can also become a breeding ground for dust mites and bacteria if not cleaned regularly. To keep your sleep sanctuary fresh, use your washing machine to wash sheets, pillowcases, and duvet covers in hot (at least 130°F).
Here are some additional tips for effective cleaning:
- Wash mattress covers every 1-3 months.
- Vacuum your mattress with a brush attachment to eliminate dust and allergens.
- Sprinkle baking soda on your mattress for 15 minutes to absorb odors.
- Rotate your mattress every 3-6 months to maintain its shape.
- Always follow the manufacturer’s instructions for specific products.
Implement these techniques, and enjoy a cleaner, healthier sleep environment!
Mattress Deep Cleaning Tips
While a fresh, clean mattress is essential for a good night’s sleep, many people overlook the importance of deep cleaning it regularly.
Start by washing your bedding, including sheets and pillowcases, in hot every two weeks to tackle dust mites and allergens.
Next, vacuum your mattress thoroughly, focusing on seams and crevices to remove dust and hair.
Sprinkle baking soda over the surface and let it sit for 15 minutes to absorb odors before vacuuming it up.
For stains, spot-clean with a mild dish soap solution using a damp cloth.
Finally, invest in machine-washable mattress protectors to keep your mattress safe from spills and stains, ensuring a longer lifespan and a healthier sleep environment.
Proper Drying Methods
To guarantee your bedding and mattress stay fresh and clean, proper drying methods play an essential role.
After washing your sheets, pillowcases, and duvet covers in hot , make sure you dry them thoroughly. Consider these tips for best results:
- Use a dryer on medium heat to eliminate moisture quickly.
- Line dry outside when possible for that fresh, natural scent.
- Always check that bedding is completely dry to prevent mold growth.
Rotate and flip your mattress every 3-6 months to promote even wear.
Invest in protective mattress covers to keep allergens and spills at bay.
26. Use a Lint Roller on Lampshades
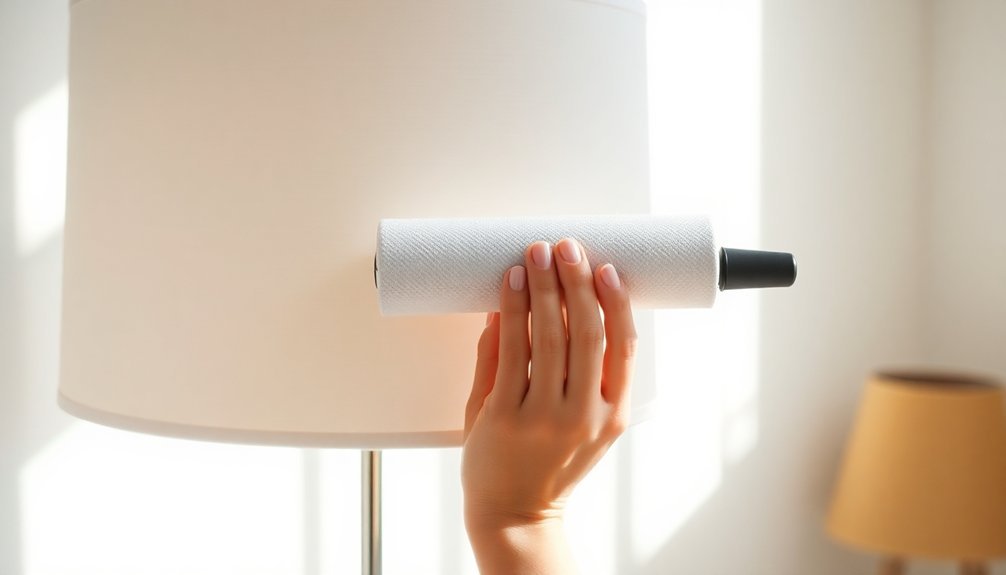
How often do you think about the dust accumulating on your lampshades? If it’s been a while, it’s time to grab a lint roller!
This handy tool is perfect for quickly removing dust, pet hair, and lint from lampshades without risking to delicate fabrics. Just roll the sticky sheets over the surface, applying gentle pressure to lift away debris.
It’s a game changer, especially for those fragile materials that can’t handle wet cleaning. Regularly using a lint roller not only keeps your lampshades looking fresh but also prevents dust and allergens from building up.
For the best results, use a fresh sheet for each lampshade, maximizing that stickiness and effectiveness. Your home deserves to shine!
27. Scrub Kitchen Cabinet Fronts
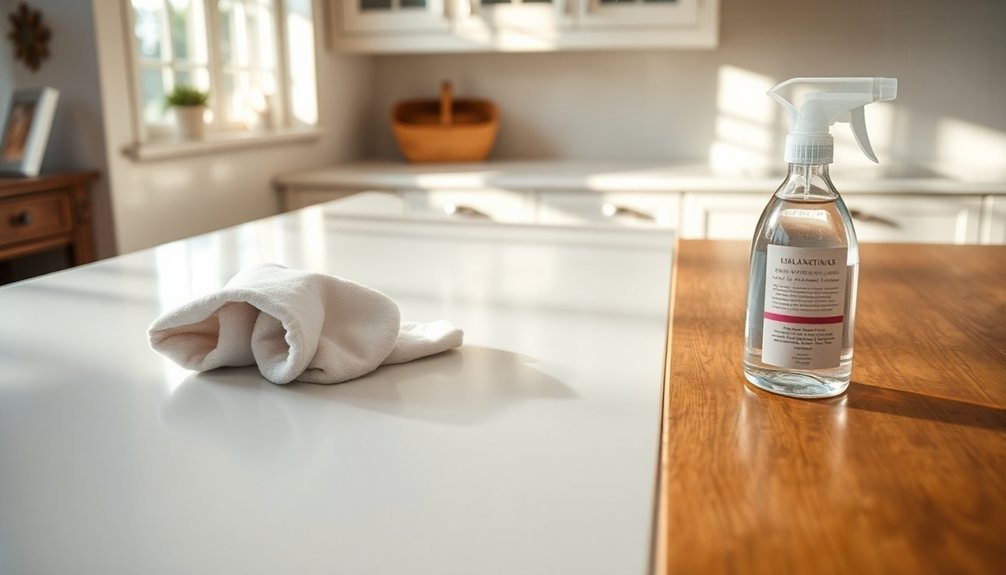
Your kitchen cabinets deserve a little TLC to keep them looking fresh and inviting.
By choosing the right cleaning solutions and using proper scrubbing techniques, you can easily tackle stubborn stains and maintain their finish.
Regular upkeep won’t only enhance their appearance but also extend their lifespan, making your kitchen shine with every meal.
Choose Effective Cleaning Solutions
While keeping your kitchen cabinets looking pristine may seem challenging, the right cleaning solutions can make the task both simple and effective.
Start with a dish brush and a mixture of warm with a few drops of dish soap; this lifts grease without damaging finishes. For stubborn stains, try a baking soda paste. Avoid abrasive cleaners that can scratch surfaces.
Regular cleaning, ideally every few weeks, prevents buildup and keeps your cabinets shining.
- Warm and dish soap mix
- Baking soda paste for tough stains
- Soft cloth for scrubbing
- Avoid scouring pads
- Rinse and dry thoroughly
With these cleaning solutions, you’ll effortlessly maintain your kitchen’s elegance, making it a joy to cook and entertain!
Use Proper Scrubbing Techniques
Achieving spotless kitchen cabinet fronts is easier than you might think, especially with the right scrubbing techniques.
Start by mixing warm with dish soap or creating a paste of vegetable oil and baking soda to effectively lift grease without damaging the finish.
Grab a soft-bristled dish brush or a microfiber cloth to gently scrub away grime while protecting your cabinets.
For tougher stains, let your cleaning solution sit for a few minutes to break down the residue before you scrub.
After scrubbing, rinse the surfaces with clean to remove any soap residue, which can attract dirt later.
Finally, dry your cabinets with a clean, soft cloth to avoid spots and streaks.
Happy cleaning!
Maintain Cabinet Finish Regularly
Keeping your kitchen cabinets looking their best is all about regular maintenance.
To maintain cabinet finish regularly, incorporate these cleaning hacks into your routine:
- Mix vegetable oil and baking soda for a gentle scrub.
- Use a dish brush or sponge to reach all corners and crevices.
- Let the mixture sit on tough stains for a few minutes before scrubbing.
- Wipe down cabinet hardware with a damp cloth post-scrub.
- Perform this maintenance at least once a month.
28. Clean Your Sink Drain With Baking Soda and Lemon
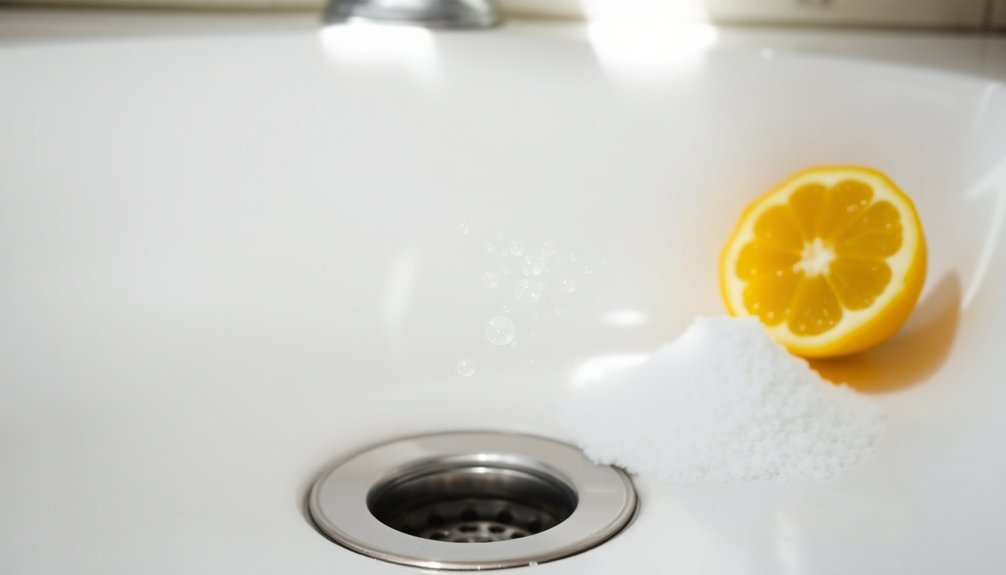
If you want to tackle stubborn odors and buildup in your sink drain, a simple yet effective solution lies in your pantry—baking soda and lemon.
Start by pouring one cup of baking soda down the drain; it acts as a natural abrasive to eliminate grime. Follow this with one cup of lemon juice, creating a fizzing reaction that dislodges debris and freshens up your drain.
Let the mixture sit for 15-30 minutes to work its magic, then rinse with hot . For an extra cleaning boost, consider flushing with boiling to clear any lingering residue.
Regularly using this method is one of the best cleaning hacks to keep your drain fresh and your plumbing in top shape!
29. Wipe Down the Exterior of Your Fridge
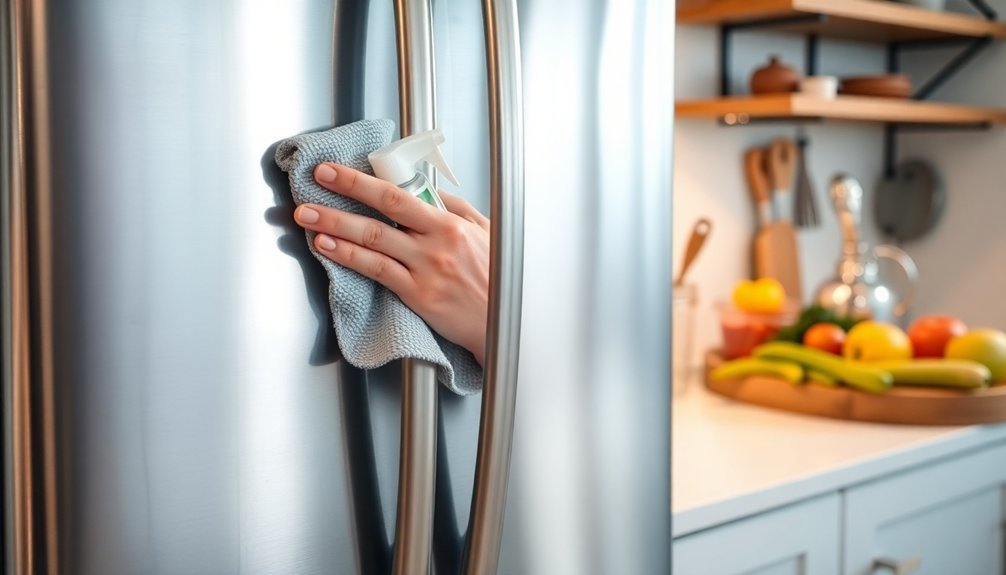
Your fridge’s exterior deserves just as much attention as its interior, and cleaning it can be a quick yet rewarding task.
Start by mixing warm with baking soda to wipe away fingerprints and smudges. For stainless steel, a bit of olive oil on a microfiber cloth works wonders to restore shine.
Regularly wiping down the fridge not only enhances its appearance but also helps prevent grime buildup that can harbor bacteria.
Don’t forget the handles; use a damp cloth here to tackle the dirt and germs.
Finally, dry the exterior thoroughly to avoid spots and keep that polished look.
- Warm and baking soda mixture
- Microfiber cloth for stainless steel
- Olive oil for shine
- Damp cloth for handles
- Thorough drying technique
30. Clean the Inside of Your Oven
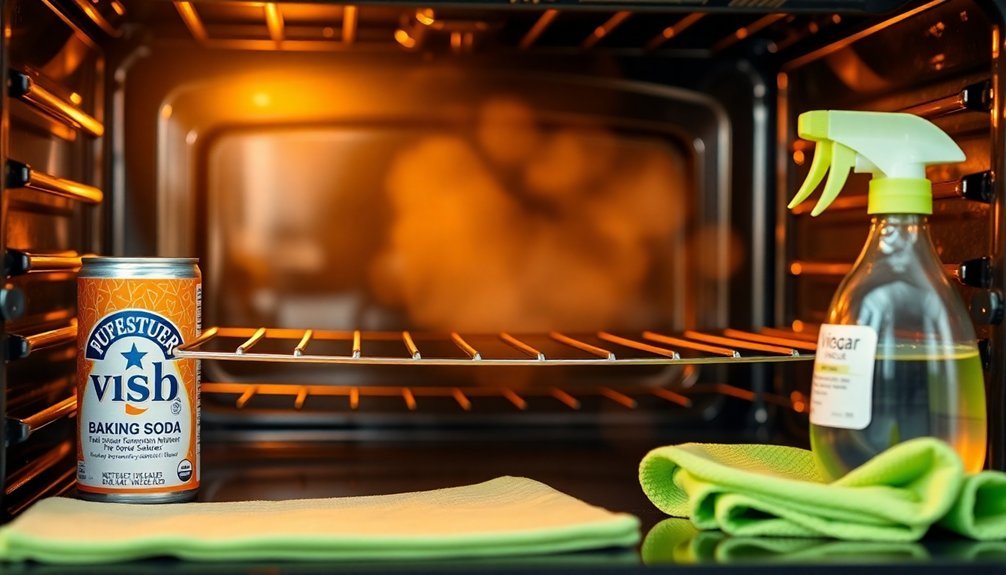
Cleaning the inside of your oven might seem challenging, but with natural solutions and a bit of elbow grease, you can tackle it like a pro.
Start by creating a simple baking soda paste and discover effective scrubbing techniques to lift stubborn stains.
Plus, regular maintenance can save you time and effort down the line, so let’s transform your oven into a sparkling clean space!
Natural Cleaning Solutions
While maintaining a sparkling clean oven might seem intimidating, using natural cleaning solutions can simplify the task considerably.
Start by creating a paste with baking soda and , applying it to the oven’s surfaces. Let it sit for at least 12 hours to loosen grime. After that, spray it with vinegar to activate a fizzing reaction that lifts stubborn stains. Use a damp cloth or sponge to wipe it all away, rinsing thoroughly.
For tougher spots, mix equal parts vinegar and and spray directly on the area. Regular maintenance can keep your oven in top shape with minimal effort.
Here are a few tips:
- Wipe down spills immediately
- Use the self-cleaning function
- Avoid harsh chemicals
- Keep vinegar handy
- Stay consistent with cleaning
Scrubbing Techniques Explained
When tackling the inside of your oven, a systematic approach can make all the difference.
Start by removing the oven racks and soaking them in warm, soapy . While they soak, create a paste with baking soda and , applying it generously to the oven walls—just steer clear of the heating elements.
Let it sit for at least 12 hours for ideal stain removal. Afterward, use a damp cloth or sponge to wipe down the surfaces, employing scrubbing techniques for any stubborn spots with a non-abrasive scrubber.
For lingering residue, spray vinegar on the baking soda areas; the fizzing will lift off grime. Rinse the interior with clean , and dry with a microfiber cloth for a sparkling finish!
Preventative Maintenance Tips
To keep your oven in top shape, a little preventative maintenance goes a long way. By incorporating these simple tips into your cleaning routine, you’ll guarantee your oven stays efficient and sparkling:
- Wipe down the interior after each use to prevent grease buildup.
- Mix equal parts baking soda and to tackle stubborn stains.
- Use the self-cleaning feature, removing debris and cookware first.
- Regularly check and clean the oven door seal to maintain heat efficiency.
- Schedule a deep clean every 3-6 months to address odors and discoloration.
These preventative maintenance tips not only make deep cleaning easier but also enhance your cooking experience.
Stay proactive, and you’ll enjoy a well-maintained oven for years to come!
31. Use a Coffee Filter for Computer Screens

Cleaning your computer screen doesn’t have to be a chore, especially when you use a simple coffee filter. These cost-effective, lint-free wonders are perfect for tackling dust and fingerprints without leaving any residue behind.
Their thin, absorbent material allows you to easily maneuver into tight spaces, ensuring a thorough clean without scratching your screen.
For stubborn smudges, dampen a coffee filter with a little or a gentle cleaning solution to boost its cleaning power. Unlike paper towels, coffee filters won’t produce lint, helping maintain your screen’s clarity.
Regularly cleaning your computer screen with this hack not only improves visibility but also reduces eye strain caused by dust and glare.
32. Wipe Down Bookshelves With a Magnetic Cloth
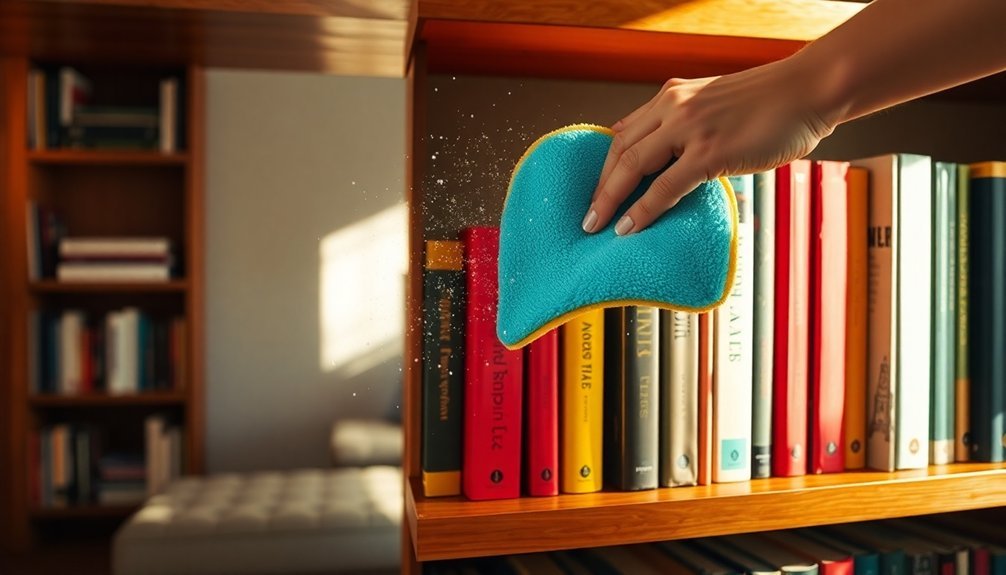
After sprucing up your computer screen, it’s time to tackle another often-overlooked area: your bookshelves.
Using a magnetic cloth can transform this chore into a breeze. It attracts and collects dust without scattering it, making your cleaning process efficient and mess-free. Plus, you don’t have to remove your books or decor to get the job done!
- Eco-friendly and reusable
- Prevents dust accumulation, prolonging your books’ life
- Cleans around items effortlessly
- Reduces the need for extra cleaning products
- Creates a tidy, inviting atmosphere
With just a few swipes of a magnetic cloth, your bookshelves will sparkle, and you’ll feel accomplished.
Enjoy the satisfaction of a clean space that reflects your personality!
33. Clean Your Desk Properly

Cleaning your desk isn’t just about wiping it down; it’s your chance to create a workspace that inspires productivity.
Start by decluttering, then choose the right cleaning products to make your surface shine.
Finally, organize your supplies efficiently to keep everything at your fingertips and enjoy a fresh, focused environment.
Declutter Your Workspace First
A cluttered workspace can stifle your creativity and productivity, making it essential to tackle your desk first.
To declutter your workspace first and create a fresh start, follow these cleaning hacks:
- Remove everything from your desk to clear the surface.
- Sort through paperwork, keeping only the essentials.
- Wipe down the desk with a microfiber cloth to remove dust and grime.
- Organize office supplies in decorative containers for a tidy look.
- Regularly reassess your setup, ideally once a month, to maintain order.
Use Appropriate Cleaning Products
While it might be tempting to grab any old rag and cleaner, using the right products for your desk is crucial to keep it looking its best.
Opt for a microfiber cloth; it effectively traps dust without scratching surfaces. Pair that with a gentle all-purpose cleaner or a vinegar and solution to tackle grime and fingerprints without damaging your desk’s finish.
For your electronic devices, compressed air can dislodge dust, while a coffee filter lightly dampened with cleaner guarantees a lint-free shine.
Commit to cleaning your desk at least once a week to maintain a tidy workspace.
Organize Supplies Efficiently
To create an organized and efficient workspace, start by removing everything from your desk. This allows you to clean the surface thoroughly and assess what you truly need.
Wipe down your desk with a microfiber cloth and a suitable cleaner, tackling any sticky spots. Next, organize supplies efficiently by categorizing items into designated containers or drawers.
Here are some categories to contemplate:
- Pens and markers
- Paper and notebooks
- Office tools and accessories
- Cables and chargers
- Important documents
Regularly declutter your desk by removing unnecessary items, keeping your workspace tidy and productive.
Don’t forget to implement a digital organization system for files to reduce physical clutter. A clean desk fosters creativity, so make it a priority!
34. Remove Stains From Fabric Sofas
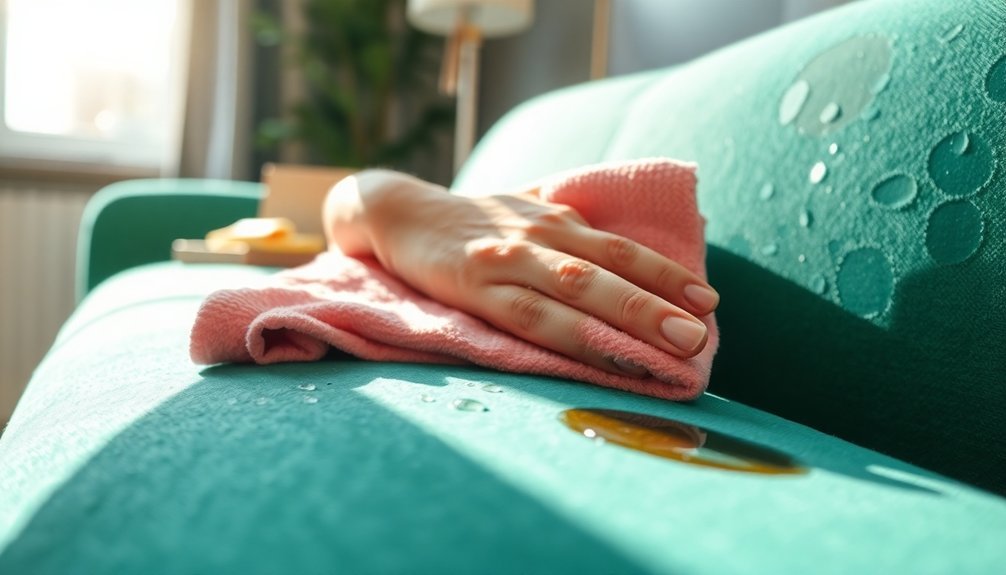
Fabric sofas can easily fall victim to stains, but don’t worry—removing those blemishes is simpler than you might think.
To tackle -based stains like coffee or juice, mix equal parts dish soap and white vinegar, apply it with a cloth, and blot until the stain lifts.
For grease stains, sprinkle baking soda on the area, let it absorb for 15 minutes, then vacuum before using a fabric-safe cleaner.
To pick up pet hair, a lint roller works wonders.
For stubborn stains, create a paste with baking soda and , apply it, let it dry, and gently brush it off.
Always test your cleaning solution on a hidden area first to verify it won’t your fabric.
You’ve got this!
35. Iron Out Carpet Stains
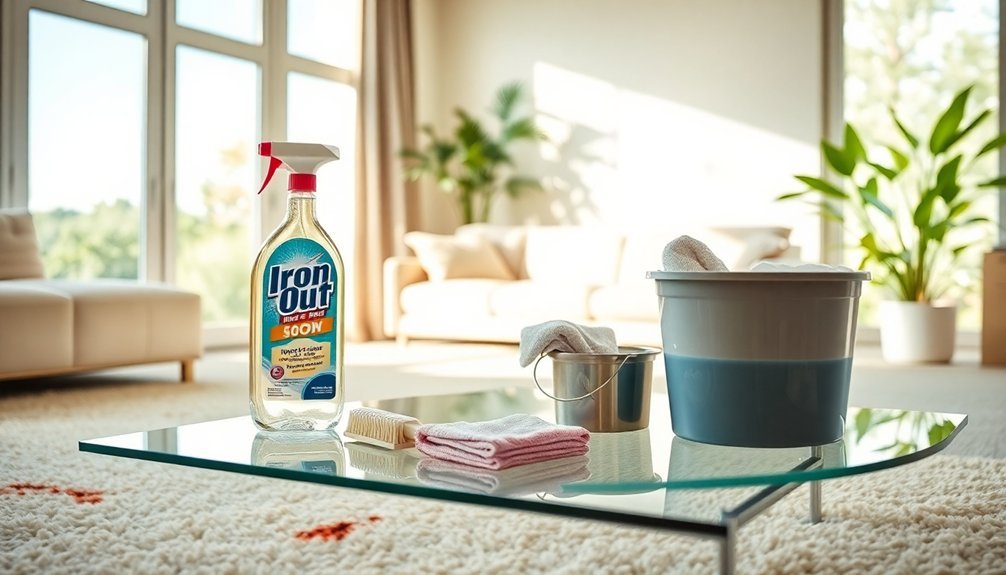
Carpet stains can feel overwhelming, but with the right approach, you can tackle them effectively. Start by quickly blotting the area with a clean, dry cloth to absorb excess liquid before applying any cleaning solution.
Here’s what you can do:
- Mix equal parts white vinegar and in a spray bottle.
- Lightly mist the stained area and blot until the stain lifts.
- For tougher stains, sprinkle baking soda after the vinegar solution and vacuum after 15 minutes.
- Use club soda for wine stains; let it fizz and then blot.
- Always test any cleaning solution on a discreet area first to prevent .
With these simple steps, you’ll have your carpets looking pristine in no time!
36. Wash Your Shower Curtain and Liner
It’s time to give your shower curtain and liner the refresh they deserve!
Toss them in the washing machine with some towels on a gentle cycle, using warm and detergent to tackle soap scum and mildew.
Don’t forget to hang them up to air dry—this simple step helps keep them in great shape for longer!
Machine Washing Instructions
While you mightn’t think about it often, washing your shower curtain and liner is essential for maintaining a fresh and inviting bathroom.
To machine wash them effectively, follow these steps:
- Remove them from the rod and check the care label.
- Use cold on a gentle cycle.
- Add a few towels to help scrub and prevent crinkling.
- Include a mild detergent and consider adding a cup of vinegar for extra cleaning power.
- Hang them back up to air dry—avoid tumble drying to prevent .
Regularly washing your shower curtain and liner every few months prevents mold and mildew buildup, ensuring your bathroom remains clean and fresh.
Drying and Maintenance Tips
To keep your shower curtain and liner looking fresh and prolong their lifespan, proper drying and maintenance are key.
After washing, hang them up to air dry; this prevents mold growth and helps maintain their shape. If you have a fabric curtain, toss in a few towels during the wash to reduce wrinkling.
For plastic or vinyl curtains, wipe them down with a vinegar and mixture before rinsing to tackle stubborn stains and odors. Once they’re dry, use a dry cloth to gently buff any remaining spots.
Regularly washing every 3-6 months guarantees your bathroom stays fresh and odor-free. Embrace these simple tips, and you’ll enjoy a sparkling clean shower space all year round!
37. Wipe Down Shower Walls With Vinegar
When you want a sparkling clean shower without the harsh chemicals, consider reaching for a bottle of white vinegar. This natural solution dissolves soap scum and hard deposits, making it perfect for wiping down shower walls.
Here’s how to get started:
- Spray undiluted vinegar directly onto the walls.
- Let it sit for 10-15 minutes for maximum effect.
- Wipe down with a soft cloth or sponge.
- For tough grime, apply baking soda first, then spray with vinegar for a fizzing reaction.
- Regular use prevents mold and mildew, ensuring a healthier bathroom.
Vinegar isn’t just cost-effective; it leaves no harmful residues behind, making your shower sparkle with minimal effort!
38. Brush Faucets With Baking Soda and
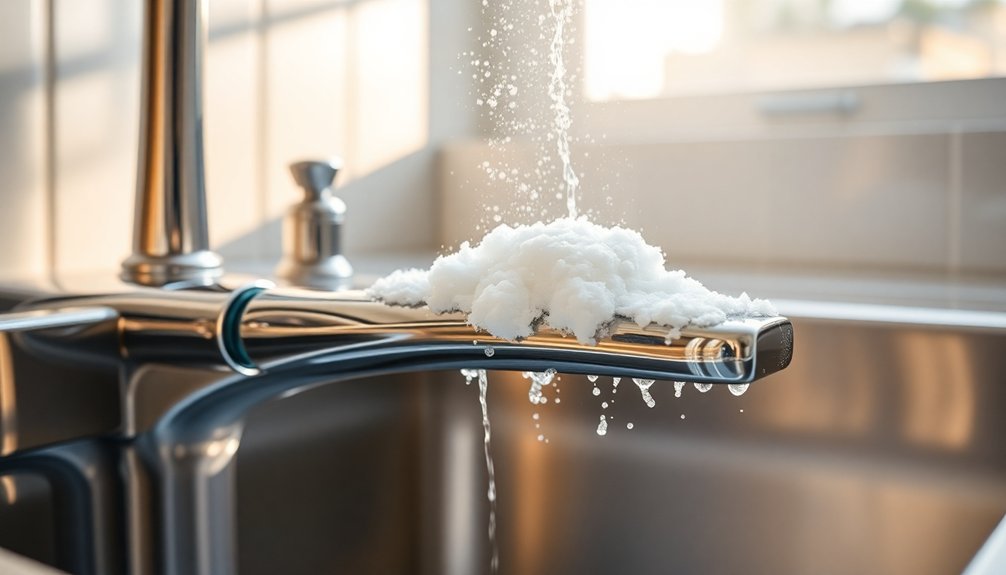
Ready to tackle those stubborn stains on your faucets?
Using a simple paste of baking soda and not only breaks down mineral deposits but also keeps your surfaces scratch-free.
You’ll love the natural cleaning benefits, and with just a little effort, your faucets will shine like new!
Effective Stain Removal Technique
If you’ve ever been frustrated by unsightly hard- stains on your faucets, you’re not alone. Luckily, there’s an effective stain removal technique using baking soda that can restore your fixtures to their former glory.
Start by creating a paste with baking soda and , then apply it directly to the stained areas. Let it sit for about 10-15 minutes to break down those mineral deposits.
- Scrub gently with a soft brush or toothbrush.
- Rinse thoroughly with warm .
- Wipe with a microfiber cloth for a streak-free finish.
- Regularly clean with baking soda to maintain shine.
- Prevent future buildup by making this a habit.
With just a little effort, you can keep your faucets sparkling!
Natural Cleaning Solution Benefits
One of the simplest and most effective ways to keep your home sparkling is by using a natural cleaning solution made from baking soda and . This powerful combination acts as a natural abrasive, effectively removing hard stains and mineral deposits from your faucets without scratching.
When mixed into a paste, baking soda not only cleans but also deodorizes, leaving your fixtures fresh and inviting. Plus, it’s environmentally friendly and non-toxic, making it a safer choice than harsher chemicals.
Regularly brushing your faucets with this solution will restore their shine and prevent buildup, ensuring your kitchen or bathroom looks its best. Embrace the benefits of baking soda, and enjoy a cleaner, healthier home!
39. Vacuum the Closet Floor
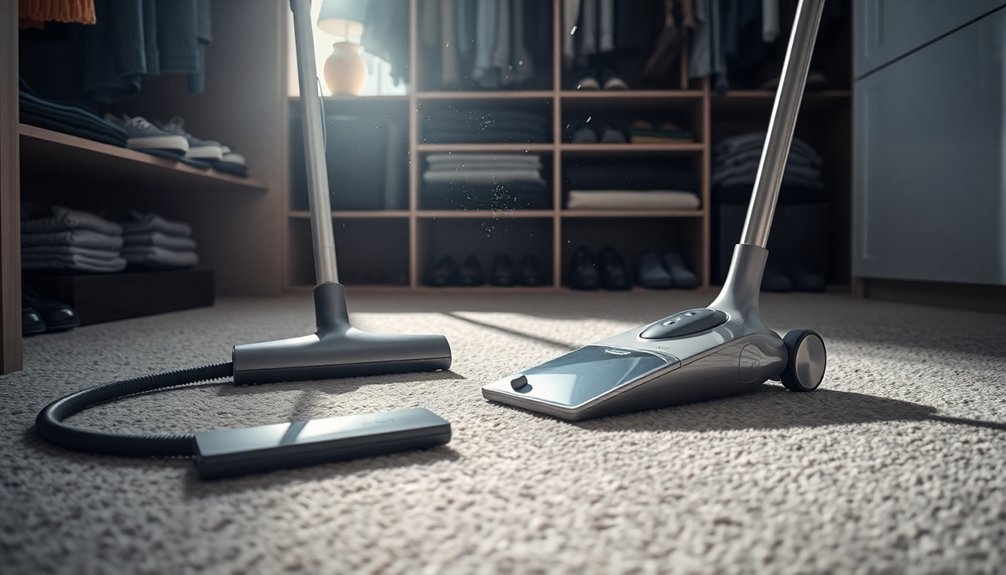
Keeping your closet floor free from dust and allergens is essential for a healthier home environment. Regularly vacuuming not only improves air quality but also maintains a neat appearance.
Here are some tips to effectively vacuum the closet floor:
- Use a vacuum with a crevice tool for tight corners.
- Aim for at least once a month to prevent buildup.
- Choose a vacuum with a HEPA filter to capture tiny particles.
- Don’t forget to vacuum lower shelves and items on the floor.
- Consider organizing your closet before vacuuming for easier access.
40. Clean Shelves With All-Purpose Cleaner
While it might seem like a small task, cleaning your shelves can make a significant difference in your home’s overall appearance and hygiene.
Start by removing all items to give yourself a clear workspace and protect your belongings. Next, spray all-purpose cleaner directly onto the shelf surfaces and let it sit for a minute to break down grime.
Grab a microfiber cloth or sponge and wipe down every corner and edge for a thorough clean. If you encounter stubborn stains, add a bit more cleaner and gently scrub until they lift.
Finally, wipe with a clean cloth, let your shelves dry, and replace items in an organized manner. Consider decluttering for that extra tidy touch!
41. Clean Your Washing Machine Monthly
After sprucing up your shelves, don’t overlook the importance of your washing machine. Running a monthly cleaning cycle with a mixture of baking soda and vinegar keeps it fresh and efficient. This simple routine eliminates soap scum, mildew, and odors, ensuring your laundry smells great too.
Here’s how to keep your washing machine in prime shape:
- Wipe down the rubber seals and door after each use.
- Check and clean the detergent dispenser regularly.
- Use hot settings to help kill bacteria.
- Run that cleaning cycle once a month for peak performance.
- Regular maintenance prolongs your machine’s lifespan.
42. Vacuum Your Lint Dryer
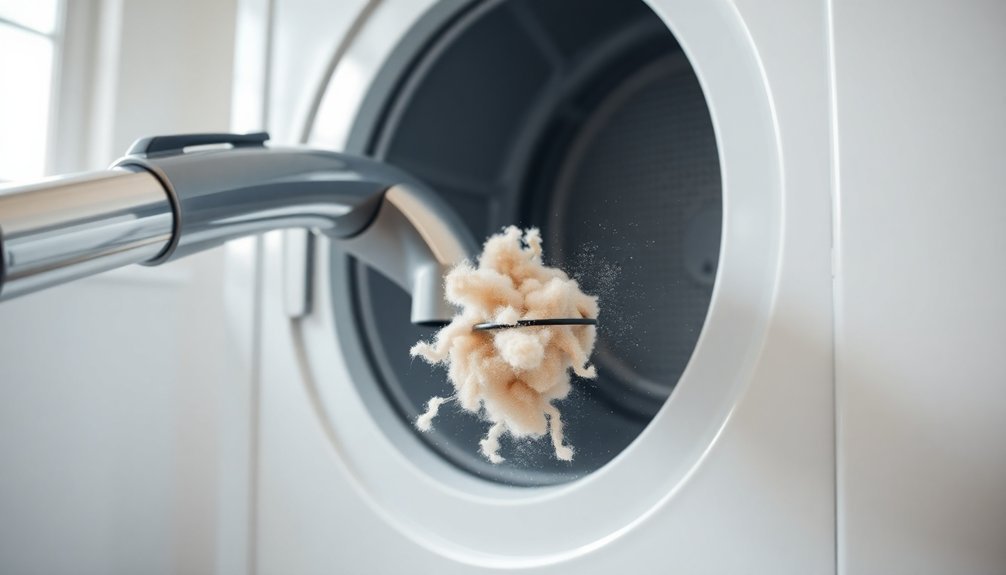
One simple but essential task can greatly enhance your dryer’s efficiency: vacuuming your lint dryer. Regularly vacuuming helps prevent lint buildup, which not only reduces performance but also poses a fire hazard.
Grab a vacuum with a hose attachment to reach deep into the lint trap and dryer vent, removing accumulated lint that obstructs airflow. Make it a habit to clean the lint trap after each use, and vacuum monthly for peak performance.
Don’t forget to schedule a thorough vacuuming of the dryer vent system at least once a year. Investing in a vacuum specifically designed for lint can notably improve your dryer maintenance routine.
Your dryer will run smoother, and you’ll enjoy faster drying times—it’s a win-win!
43. Wipe Down Your Baseboards
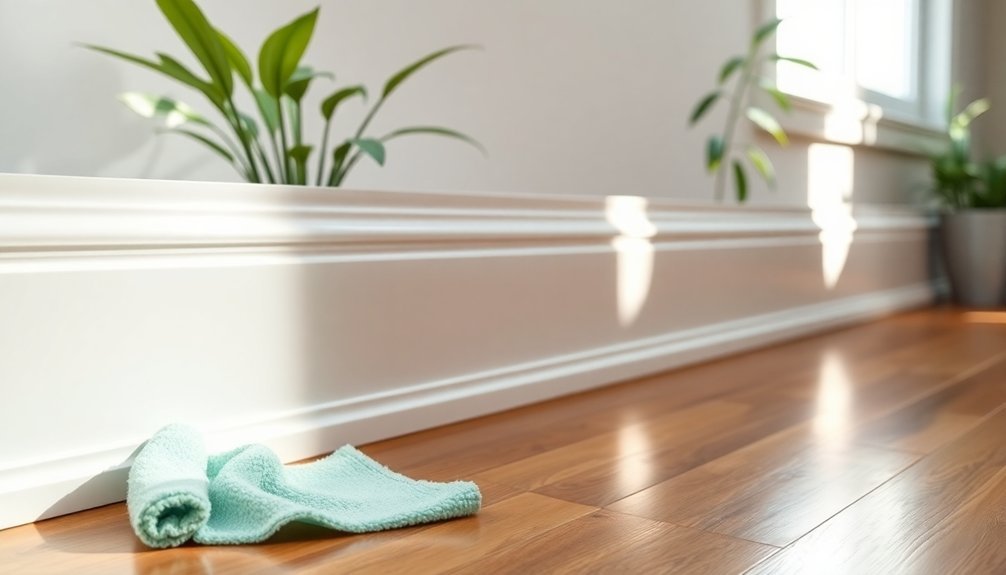
Cleaning your baseboards mightn’t be at the top of your to-do list, but tackling this often-overlooked area can considerably enhance your home’s overall appearance and air quality.
A quick wipe down baseboards will make a noticeable difference! Here’s how to do it effectively:
- Use a damp or microfiber cloth to trap dust.
- For stubborn grime, mix warm with a few drops of dish soap.
- Try dryer sheets—they attract dust and leave a pleasant scent.
- After cleaning, apply a thin layer of furniture polish or coconut oil to create a protective barrier.
- Regularly schedule this task to maintain a fresh environment.
With these simple steps, your baseboards will shine, and your home will feel rejuvenated!
44. Dust and Wash Everything in the Garage

Your garage can quickly become a catch-all for clutter, making it essential to dust and wash everything inside.
Start by removing all items to access every surface and corner. Use a broom or vacuum to sweep out dust, dirt, and debris from the floors and walls.
Once that’s done, grab a damp cloth or sponge to wipe down surfaces, ensuring a fresh start. Don’t forget the windows and light fixtures; a vinegar and solution works wonders for eliminating grime.
After cleaning, organize your tools and equipment in labeled bins or on shelves for easy access.
Finally, keep an eye out for oil stains on the floor and tackle them with a degreasing agent or a baking soda and vinegar mix.
45. Clean Your Light Bulbs

After tackling the clutter in your garage, it’s time to turn your attention to an often-overlooked aspect of home maintenance: clean light bulbs.
These fixtures can accumulate dust and grime, dimming your space and reducing efficiency. Here’s how to get them sparkling:
- Confirm bulbs are switched off and cool to the touch.
- Use a damp microfiber cloth to gently wipe away dirt.
- For stubborn spots, apply a vinegar and mixture to your cloth.
- Regular cleaning enhances luminosity and extends bulb lifespan.
- Avoid direct contact with electrical components when cleaning.
Incorporating this simple cleaning task into your routine can transform your home’s ambiance and help you shine brighter, both literally and metaphorically!
46. Wash Your Window Tracks
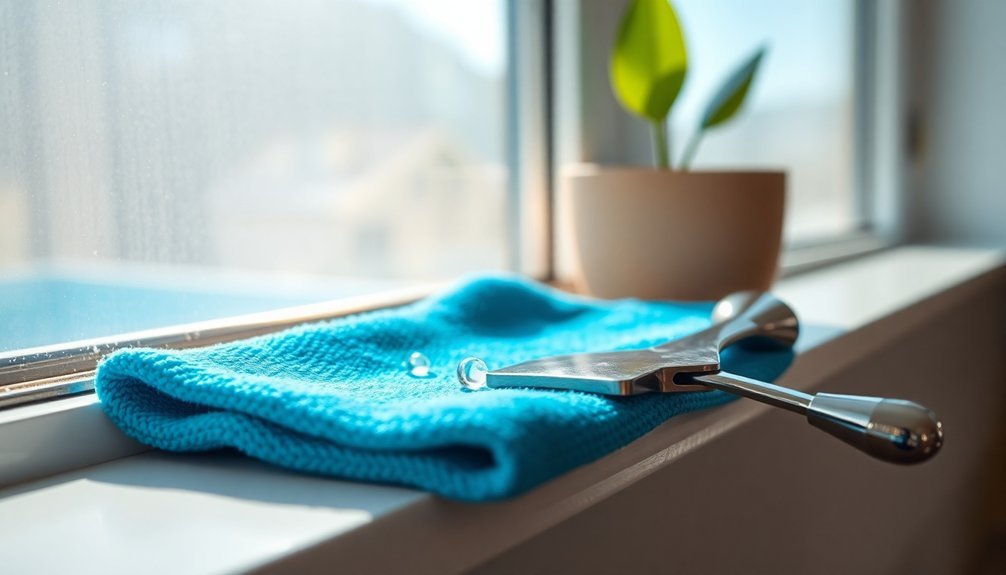
Window tracks often get neglected, but a quick clean can make a noticeable difference in your home’s appearance and functionality.
Start by removing loose dirt and debris using a small vacuum or brush to access those tight corners.
Next, create a powerful cleaning solution by mixing equal parts vinegar and in a spray bottle.
Spray this solution directly into the tracks and grab an old toothbrush or a small scrub brush to tackle the grime.
Scrub every crevice to guarantee a thorough clean.
After that, wipe away residue with a damp cloth.
For the final touch, dry the tracks thoroughly with a microfiber cloth to prevent moisture buildup.
You’ll be amazed at how much brighter your windows will look!
47. Suck Up Cobwebs in the Attic

Attics can often feel like forgotten domains filled with dust and cobwebs, but a quick cleanup can transform them into a more inviting space.
Start by grabbing a vacuum cleaner with a long hose attachment to effectively suck up cobwebs from high corners and ceilings. An extendable duster can help dislodge stubborn webs before you vacuum them away. Regularly check for humidity and leaks to discourage spiders from setting up shop.
Here are some tips to keep your attic tidy:
- Use a vacuum for quick cleanups.
- Inspect monthly to prevent buildup.
- Maintain low humidity levels.
- Use peppermint oil as a natural deterrent.
- Create a cleaning schedule to stay on top of it.
With these simple steps, you’ll enjoy a cleaner, more welcoming attic!
48. Donate Unwanted Items
Decluttering can feel like a challenging task, but donating unwanted items is a game-changer that benefits both you and your community. When you donate, you’re not just clearing space in your home; you’re supporting local charities that provide essential goods to those in need.
With around 70% of donations coming from individuals like you, your contributions can greatly impact your community. Plus, many organizations, like Goodwill and Salvation Army, offer pickup services for larger items, making it hassle-free.
Remember, you can even enjoy tax deductions for your donations, so keep a record of what you give. By choosing to donate unwanted items instead of tossing them, you’re promoting sustainability and reducing landfill waste.
It’s a win-win!
49. Organize Your Cleaning Supplies

When you take the time to organize your cleaning supplies, you’ll not only streamline your cleaning routine but also enhance your efficiency.
It’s all about creating a system that works for you. Start by storing your essentials in a designated caddy or container to keep them organized and easily accessible.
Here are some tips to help you:
- Label containers and shelves for quick identification.
- Place frequently used items at the front for convenience.
- Conduct regular inventory checks to dispose of expired products.
- Use clear bins for visibility and to prevent clutter.
- Make sure everything has a designated place.
50. Schedule Regular Cleaning Sessions

Establishing a regular cleaning schedule can transform your home into a more inviting and healthier space. By breaking tasks into manageable daily, weekly, and monthly routines, you’ll find that cleaning takes less time and feels less overwhelming.
Use a calendar or planner to set reminders for your scheduled cleaning sessions, keeping you accountable and ensuring nothing gets overlooked. Regular cleaning considerably reduces dirt and allergens, leading to improved air quality.
Focus on high-traffic areas to enhance cleanliness and organization, making your home more welcoming. Plus, implementing a cleaning checklist for each session streamlines the process, ensuring you cover all bases efficiently.
Conclusion
So there you have it—50 hacks that’ll turn you from a frazzled mess into a cleaning wizard faster than you can say “where’s the dustpan?” Sure, you could spend hours scrubbing away, or you could embrace the genius of rubber gloves and your trusty dishwasher. Who knew cleaning could be this easy? With a little humor and a sprinkle of creativity, you’ll have a sparkling home without sacrificing your sanity. Now, go forth and conquer that dust bunnies’ lair!

